If you’ve spent any amount of time researching edibles, extracts or other forms of concentrated cannabis product odds are you’ve stumbled across the words “decarb” or “decarboxylation” before, referencing a process of heating your cannabis to a specific temperature before using it in non-smoking applications.
We talk about it quite a bit in other articles on our site (usually while stressing just how important it is) so we want to give you a thorough rundown of exactly what decarboxylation is, how it can be best achieved, and show off some common mistakes you’ll want to avoid.
Note: any products in this article have been independently selected and featured editorially. Making a purchase using a link in this article may earn us a commission.
What is Decarboxylation?
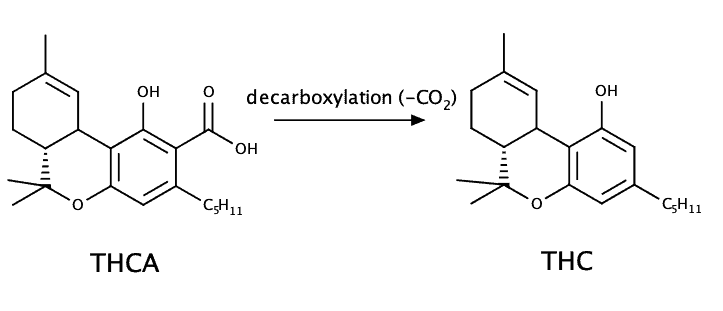
Starting from the beginning, when the cannabis plant reaches maturity it creates flowering buds filled with cannabinoids. When these buds are harvested fresh from the plant they contain no THC – They instead have THCA, a precursor to THC denoted by the inclusion of a carboxylic acid in its molecular structure.
When THCA is exposed to heat the chemical reaction destroys the carboxylic acid chain is destroyed (hence “de-carbing”), releasing carbon dioxide and leaving behind the THC molecule – This is vital to providing the typically sought-after psychoactive effects of cannabis (IE: getting someone high), as THCA’s carboxyl group prevents it from fitting into the cannabinoid receptors in the human body. Think of THC and the human endocannabinoid system like a jigsaw puzzle – THC molecules will slide neatly into place while the additional carboxylic chain of THCA prevents it from fitting at all.
Why Would I Be Decarbing My Weed?
The short answer, is that you want to decarboxylate cannabis before ingesting it, if you want any of the effects!
If you’re planning on smoking or vaporizing your cannabis/concentrate making sure it’s decarboxylated isn’t really important – You’re going to be heating up the cannabis to (and past) the decarboxylation point as it’s exposed to flame or other high heat, meaning your weed is being decarboxylated as you smoke it!
Likewise, this isn’t to say that consuming cannabis raw is without it’s benefits; THCA can offer many of the medicinal benefits of THC use, such as relaxation and mental clarity, without the psychoactive effects.
But – if you’re preparing to make edibles or other non-smoked concentrates and are wanting to get a buzz? You’ll need to decarboxylate your cannabis first, or else you’ll be in for a very disappointing cookie.
If you want more information on making edibles or cannabis infused oils, check out the links below. Our preference is to
to make a multi-purpose infused oil.More Reading
A Quick Note About CBD:
Everything we’re discussing in this article applies to both THC and CBD-heavy cannabis strains as well. Much like THCA to THC, CBDA is the natural form of CBD found in the cannabis plant, and needs to be decarboxylated into CBD before it provides its full medicinal benefit. In general, if you’ve got raw cannabis and want to eat it, decarb it first.
How Do I Decarboxylate My Cannabis?
This is a question with multiple answers. The most simple response is: Have your cannabis plant material reach a specific temperature for a set length of time. Unfortunately this ratio is where a lot of contention comes in.
During the decarboxylation process the temperature you reach and the amount of time you spend there can have wildly different effects on your cannabis. If you’ve done any research at all on your own about this topic odds are you’ve seen this image:
On first glance this “decarboxylation temperature chart” seems like it might have all the answers you need: A high decarboxylation temperature for a short period of time looks as though it gives the best results, with about 17 minutes at 293°F hitting the sweet spot. Well….
Why Decarboxylation Charts Are Worthless
Ok, not completely, but most make a lot of assumptions that aren’t really common or practical. The bottom text in our above example provides the usual reason: “Effect of heating time and temperature on the THC content of a n-hexane marijuana extract after heating on the glass surface in an open reactor.”
, conducted in 1990, used a hexane solvent-based cannabis concentrate heated in an open environment on a glass surface; unless you are specifically reproducing this experiment’s results (including an industrial chromatography machine) this chart is useless to you, and this applies to many similar charts of its nature.
Unfortunately there are very few sources of concrete information on exactly how to most effectively decarboxylate your cannabis. Information provided by the
and the Danish suggest 110°C / 230°F for the decarboxylation of THCA into THC (and CBDA into CBD) but both still use extracts and solvent mediums for their decarboxylation material, not raw cannabis flower. That makes the results of these studies less than perfect for the home extract maker, despite being the most accurate information we have.What About Time?
Now that we have a rough idea on temperature it’s time to figure out how long it should cook. The length of time you let your cannabis sit at temp has a large effect on how much of the THCA is converted into THC, as the molecular change takes a significant amount of time to occur. Unfortunately as your cannabis sits at heat it also degrades; the higher the temperature the faster this degradation happens, leading to an overall loss of both THC and THCA. Pull your cannabis too early and you’ll only have a scant percentage of your THCA converted over.
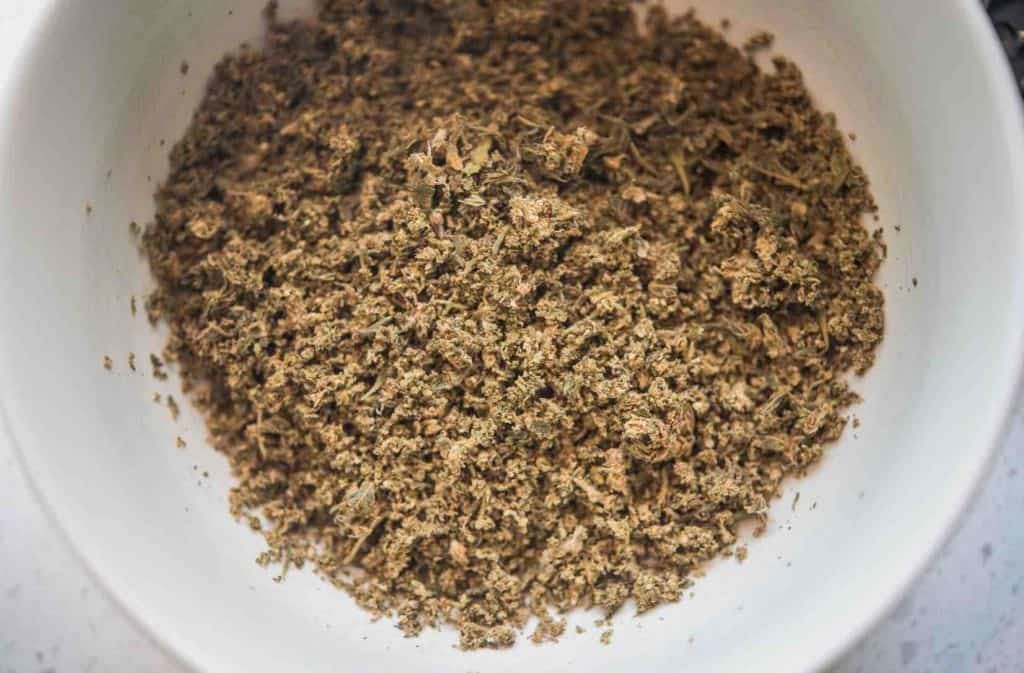
So… again, what about time? The truth is there’s no easy answer here either. Your amount of time will depend heavily on a large number of factors: The moisture content of your cannabis, how finely ground your cannabis is – Are you using bud, trim or kief? All of these factors play a heavy role in how long your cannabis needs to “cook”.
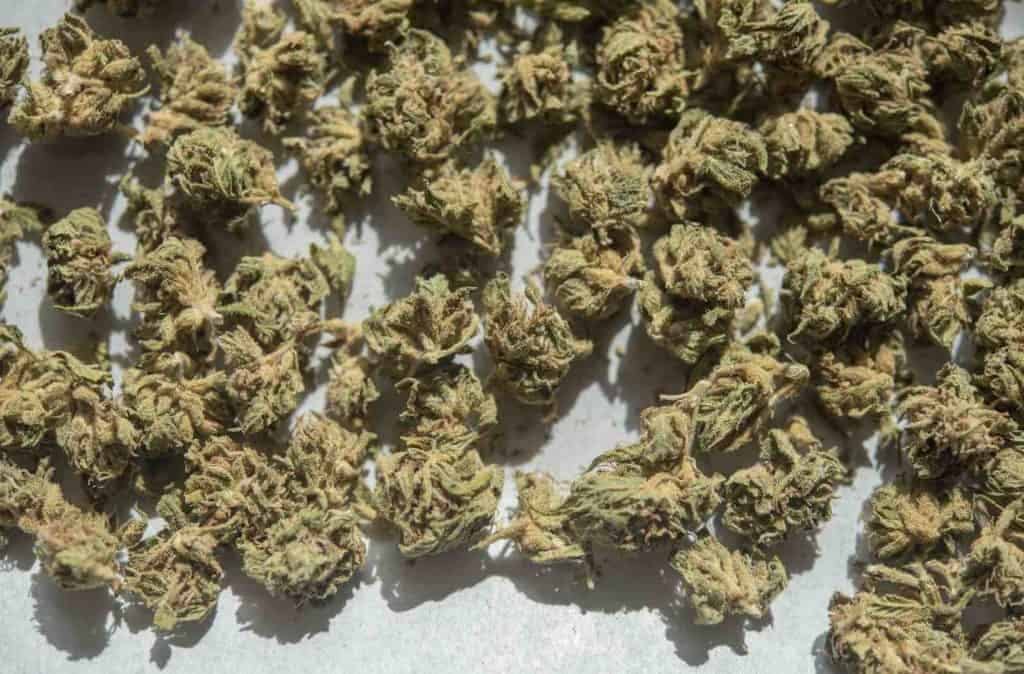
You don’t need to grind your bud during the decarboxylation stage, just break it up into small pieces. Anything too small you run the risk of burning.
Then, as a general guideline, one hour at your desired temperature (more on that below) for your small buds is a good place to start for length of time. You can always increase the length of time based on how large the pieces are, or moist you feel your cannabis is.
As much as we wish we could tell you otherwise, until more research is done the decarboxylation process is often more art than science, and the best way to become an expert is purely through practice. If trying to decarb kief or other powdery material we recommend keeping a strict eye on it from 45 minutes onward, as fine plant matter can quickly burn.
Can I Decrease the Length of Time By Increasing the Heat?
Yes, but in the process you’re running the risk of evaporating and boiling away precious cannabinoids and terpenes that would otherwise remain if you kept a low & steady temp. When it comes to decarbing your cannabis, patience is a needed virtue.
How to Decarb Weed
Now we know the rough guideline of 1 hour at 230°F but how does one get there? For that, we’ll be listing three methods, each with their own pros and cons, and leave the final decision on methodology up to you. First is one of the most common:
1. How To Decarboxylate Cannabis In the Oven
The classic, though not without its flaws. For the decarboxylation of cannabis in the oven you’ll need the following:
- An oven; a traditional, large oven works best – A small toaster oven can substitute but be careful getting your tray too close to the heating elements
- A baking sheet tray
- Parchment paper
- An oven thermometer (optional); a probe thermometer for your oven will help you track temperature
- Cannabis bud (or kief); broken up into small buds.
1. Preheat your oven to 230°F, placing the probe thermometer inside.
2. Line your baking tray with parchment paper and then place your cannabis on top. Try to maintain an even layer, as this will help with the cooking process.
3. Once preheated place the tray into the oven, monitoring your temperature closely. Stir occasionally and remember: Most modern ovens have temperature variances of at least +/- 10°F, so make sure to keep a close eye on things.

4. After one hour has passed your cannabis has been decarboxylated and is ready for use.
You’ve gotten to the point now where all the THC in your bud has been activated, and now you can go ahead and take your decarbed cannabis, grind it up and
for use in edibles.Pros:
- Fastest method
- Most likely to see highest decarboxylation conversion of THCA to THC
Cons:
- Can be tricky to reach/maintain the proper temperature
- Wasteful if not carefully monitored
Learn how to Decarb with our friends at Wowee!
2. How to Decarboxylate Cannabis Using a Slow Cooker
This is a relatively no-fuss method that will yield results, but due to it’s lower temperature means the decarboxylation process is slower and less efficient than using direct heat. You’ll need the following:
- A large water-proof, lidded jar
- A slow cooker with lid
- Fill your jar with your cannabis and make sure the lid is on tight, then fill your slow cooker halfway full of water.
- Turn your slow cooker on High and place the jar of cannabis inside.
- Place the lid on top of the slow cooker and let cook for four hours; check on the cooker once every hour to both ensure the water level hasn’t dramatically fallen. If possible, use a pair of tongs to shake the jar of cannabis while it cooks to ensure even heating.
- After the four hours is up remove the jar from the water and let cool completely before opening.
Pros:
- Simple, doesn’t require complicated equipment
- Hard to mess up
Cons:
- Lower temperature means lower THCA to THC conversion
- Water can leak into plant matter if seal isn’t tight enough.
- Decarboxylate temperature may not remain constant through the process
3. Using a Sous Vide Machine for Cannabis Decarboxylation
Sous vide machines, also known as immersion circulators, are a culinary tool designed to heat food to very precise temperatures in a water bath environment. This method for decarboxylation works much the same as the above but removes some of the potential temperature variance over a shorter period of time. You’ll need
- Sous vide machine
- Vacuum sealer with bags
- Fastener to attach bag to machine (ie: alligator clips)
- Fill a vacuum bag with your cannabis and vacuum out the air, double-sealing the end.
- Place this into your water-filled sous vide machine set to it’s highest temperature (205°F – 208°F is most common) and fasten to the side with your clips.
- Let this cook at heat for about 1 hour and 30 minutes before removing from the water with tongs.
- Allow the bag completely cool before opening and extracting your decarbed cannabis.
Pros:
- No smell
- Less chance of leakage than slow cooker
- Precise temperature control
Cons:
- Temperature still too low
- Requires costly equipment
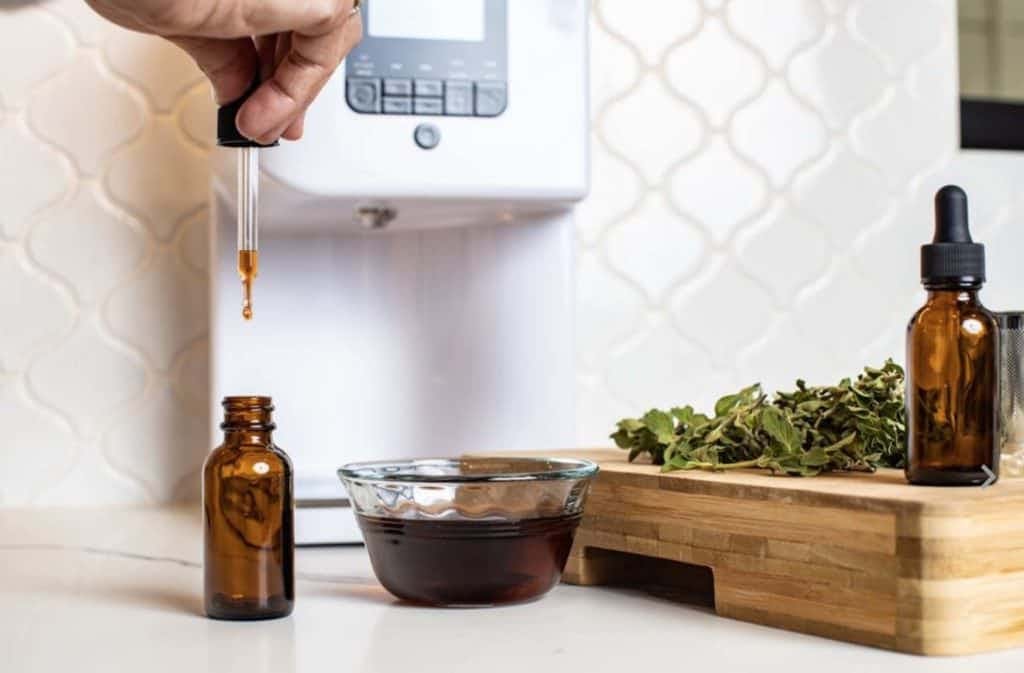
3. Using a LEVO Infuser
Options 1-3 involve using household appliances which also require specific equipment to make decarboxylation easy. And, this is only half the battle, since after you decarb your cannabis you still need to infuse it into an oil, unless you plan on eating toasted weed or using that in your recipe…
For exactly this reason, LEVO created this countertop oil infuser. It’s actually a pretty genius invention and if you plan on doing lots of infusions it will pay for itself with the time you save with cleaning and prep. Here’s what you need:
- A LEVO I or LEVO II machine
- The Butter or Oil you plan to infuse
- Your dried cannabis you plan to decarboxylate and infuse
- Fill the perforated “herb pod” with your cannabis (or other herb, if you’re just feeling adventurous in the kitchen)
- Select the “Activate” cycle, which will decarboxylate at 230F for 30 min. This is easily adjustable but again, this is a good place to start.
- Once the cannabis is decarboxylated, you can add your butter or oil to the dish in the LEVO.
- Then, simply select the “Infusion” cycle. These temperatures and times are adjustable but the default is around 2 hours at 140F.
- When you’re done, the herbs can be discarded, the oil can be placed in an airtight jar and you’re ready to make infused… anything!
Pros:
- Little smell
- Extremely easy to use
- Precise temperature control
- Very little clean-up, dishwasher safe components
Cons:
- Another appliance for your countertop…
In Conclusion
As much as we wish we had a better wrap-up the main takeaway here is that as of the publication date of this article, if anyone tries to tell you they know The One True Method to Properly Decarboxylate Cannabis, they are lying. Sorry. The best anyone has is a bunch of semi-scientific guess work, of which we have sifted through a lot to bring you the information above.
That doesn’t mean learning how to decarboxylate your weed is a lost cause, and what we’ve presented above is fairly solid information – Though that includes the bit about decarboxylation being as much art as science. The best way to become a master is through practice and experience, and we hope we’ve at least encouraged you enough to get in the kitchen and see what you can whip up – May we suggest
perhaps? Either way we wish you luck and fun – Happy smoking (or eating)!