The art of how to roll a joint doesn’t have to be some mystical practice known only to the most dedicated of smokers. Learning how to roll a joint may take a bit of practice and effort, but with our easy guide you’ll be ready to roll like a pro in no time. Let’s dive in.
High There’s Standard Joint Rolling Instructions
This is it. No frills, no fuss, no special techniques – Our gold standard is the time-tested method on how to roll a joint for beginners and masters alike. Knowing the basics of how to roll a joint and roll it well is a skill no smoker should be without, and mastery of this technique will enable you to better tackle some of the more “fancy” options listed later in our article. It may not be absolutely perfect or the prettiest joint you’ve ever seen, but it should work for almost everyone.
Step 1 – Prep your materials
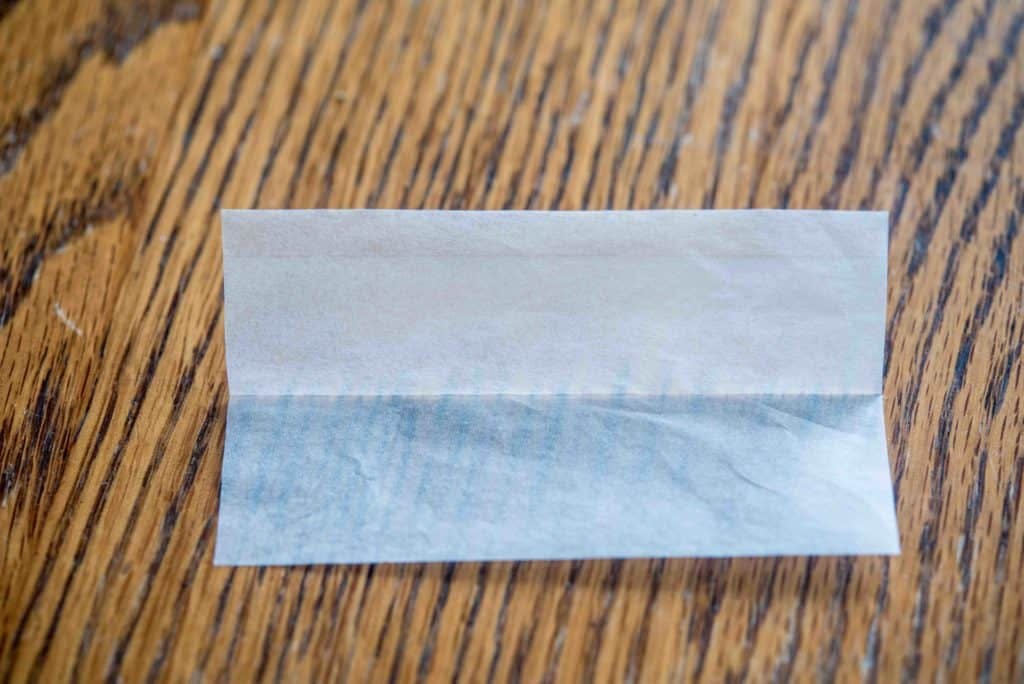
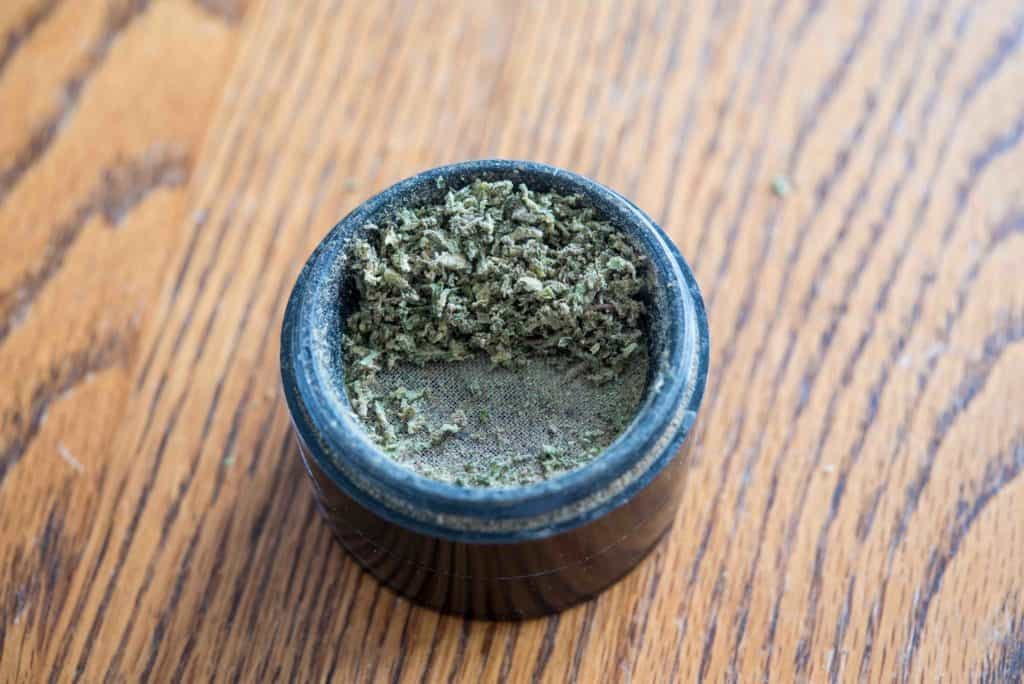
Take your paper and lay it on a flat surface; we recommend using a glass or metal tray reserved specifically for the task. The side with glue should be facing upward, and should be on the side of the paper opposing you (IE: not closest to your body). Now is also a good time to grind up your cannabis!
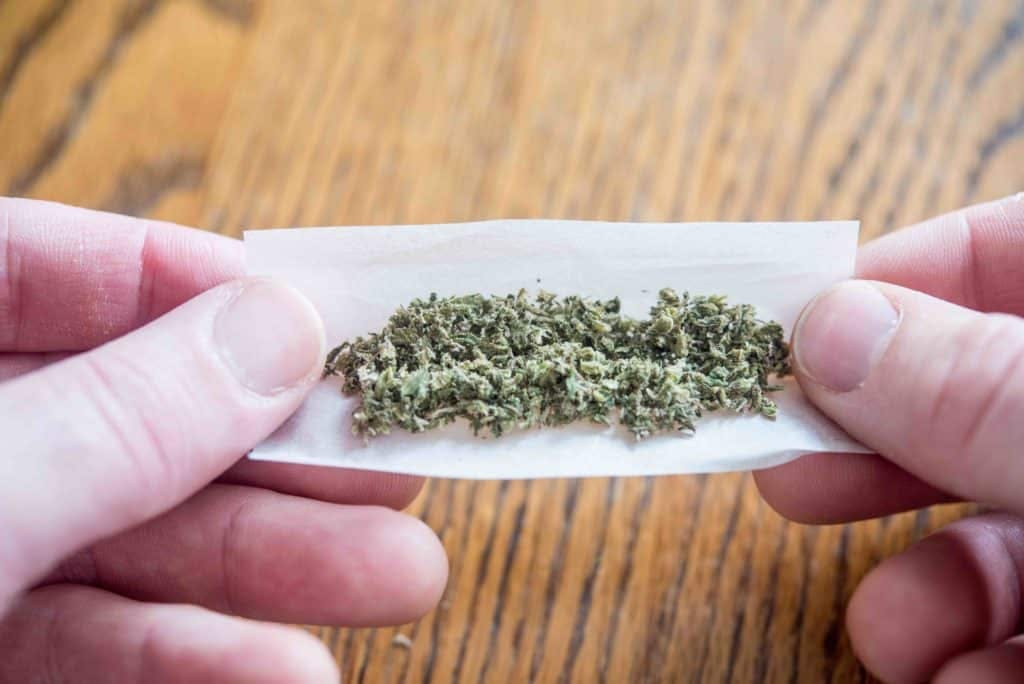
Step 2 – Add your weed
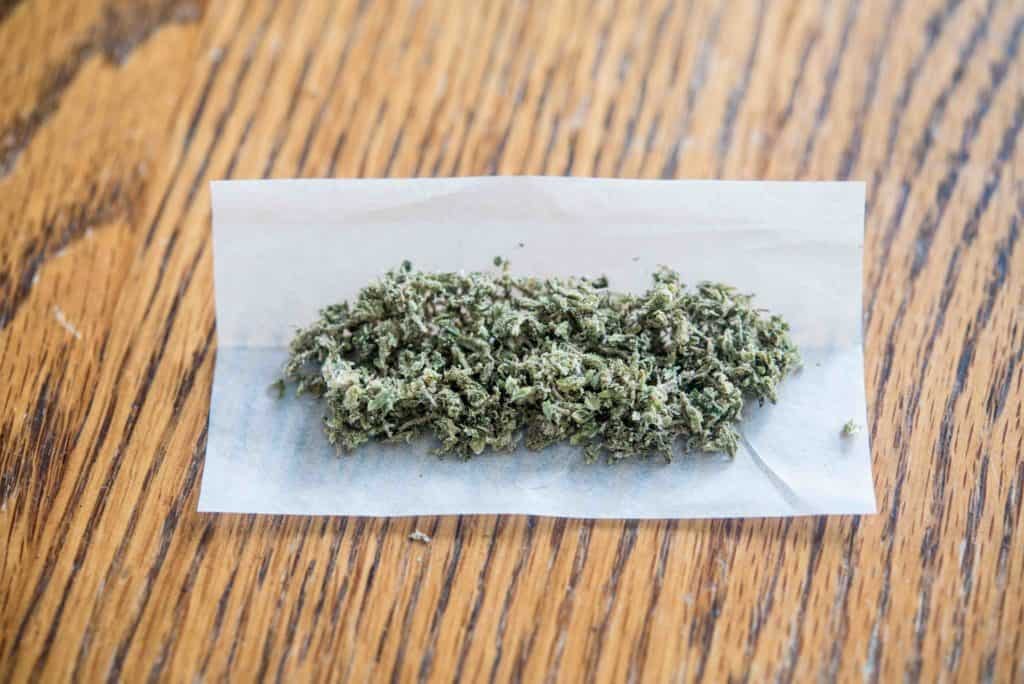
Spread ground cannabis onto the paper. Try to be even in your distribution – For the Gold Standard, you’ll want your joint to look more like a tube over a cone (more on those later).
Step 3 – Pick it up (carefully)
Facing your rolling paper, use your thumbs, forefingers and middle fingers on both hands to lift the paper upward off of the tray, trapping the ground plant material inside. Your thumbs and fingers should be pinching the paper together on each side, forming a loose, open package shape, while your other fingers are curled up against your palm; as you roll the joint can be stabilized by resting on the side of your ring fingers.

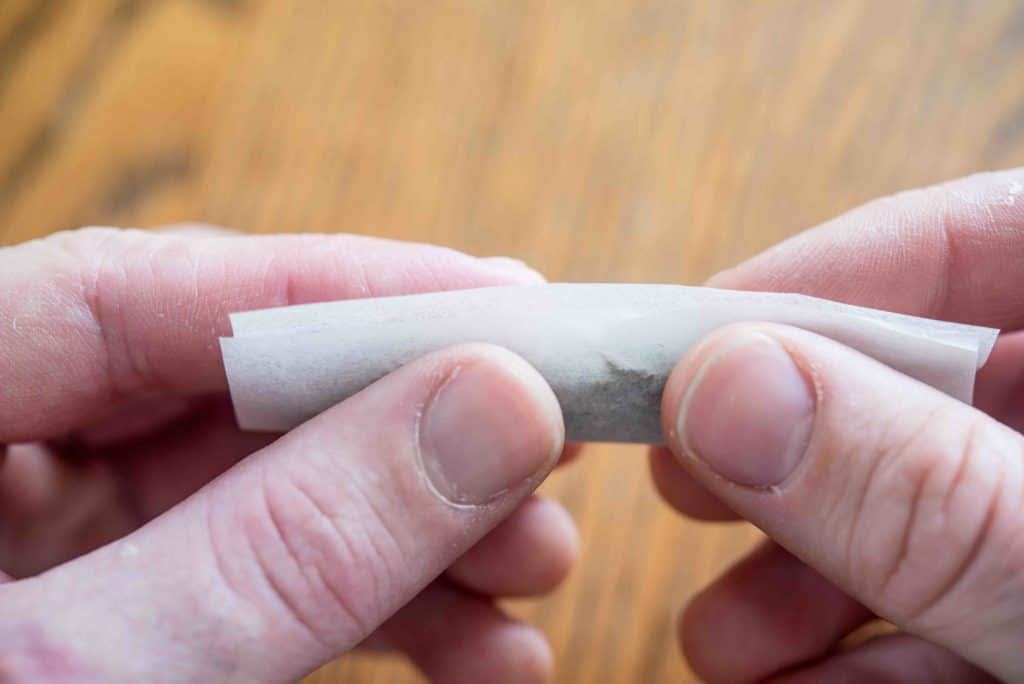
Step 4 – Roll & compress
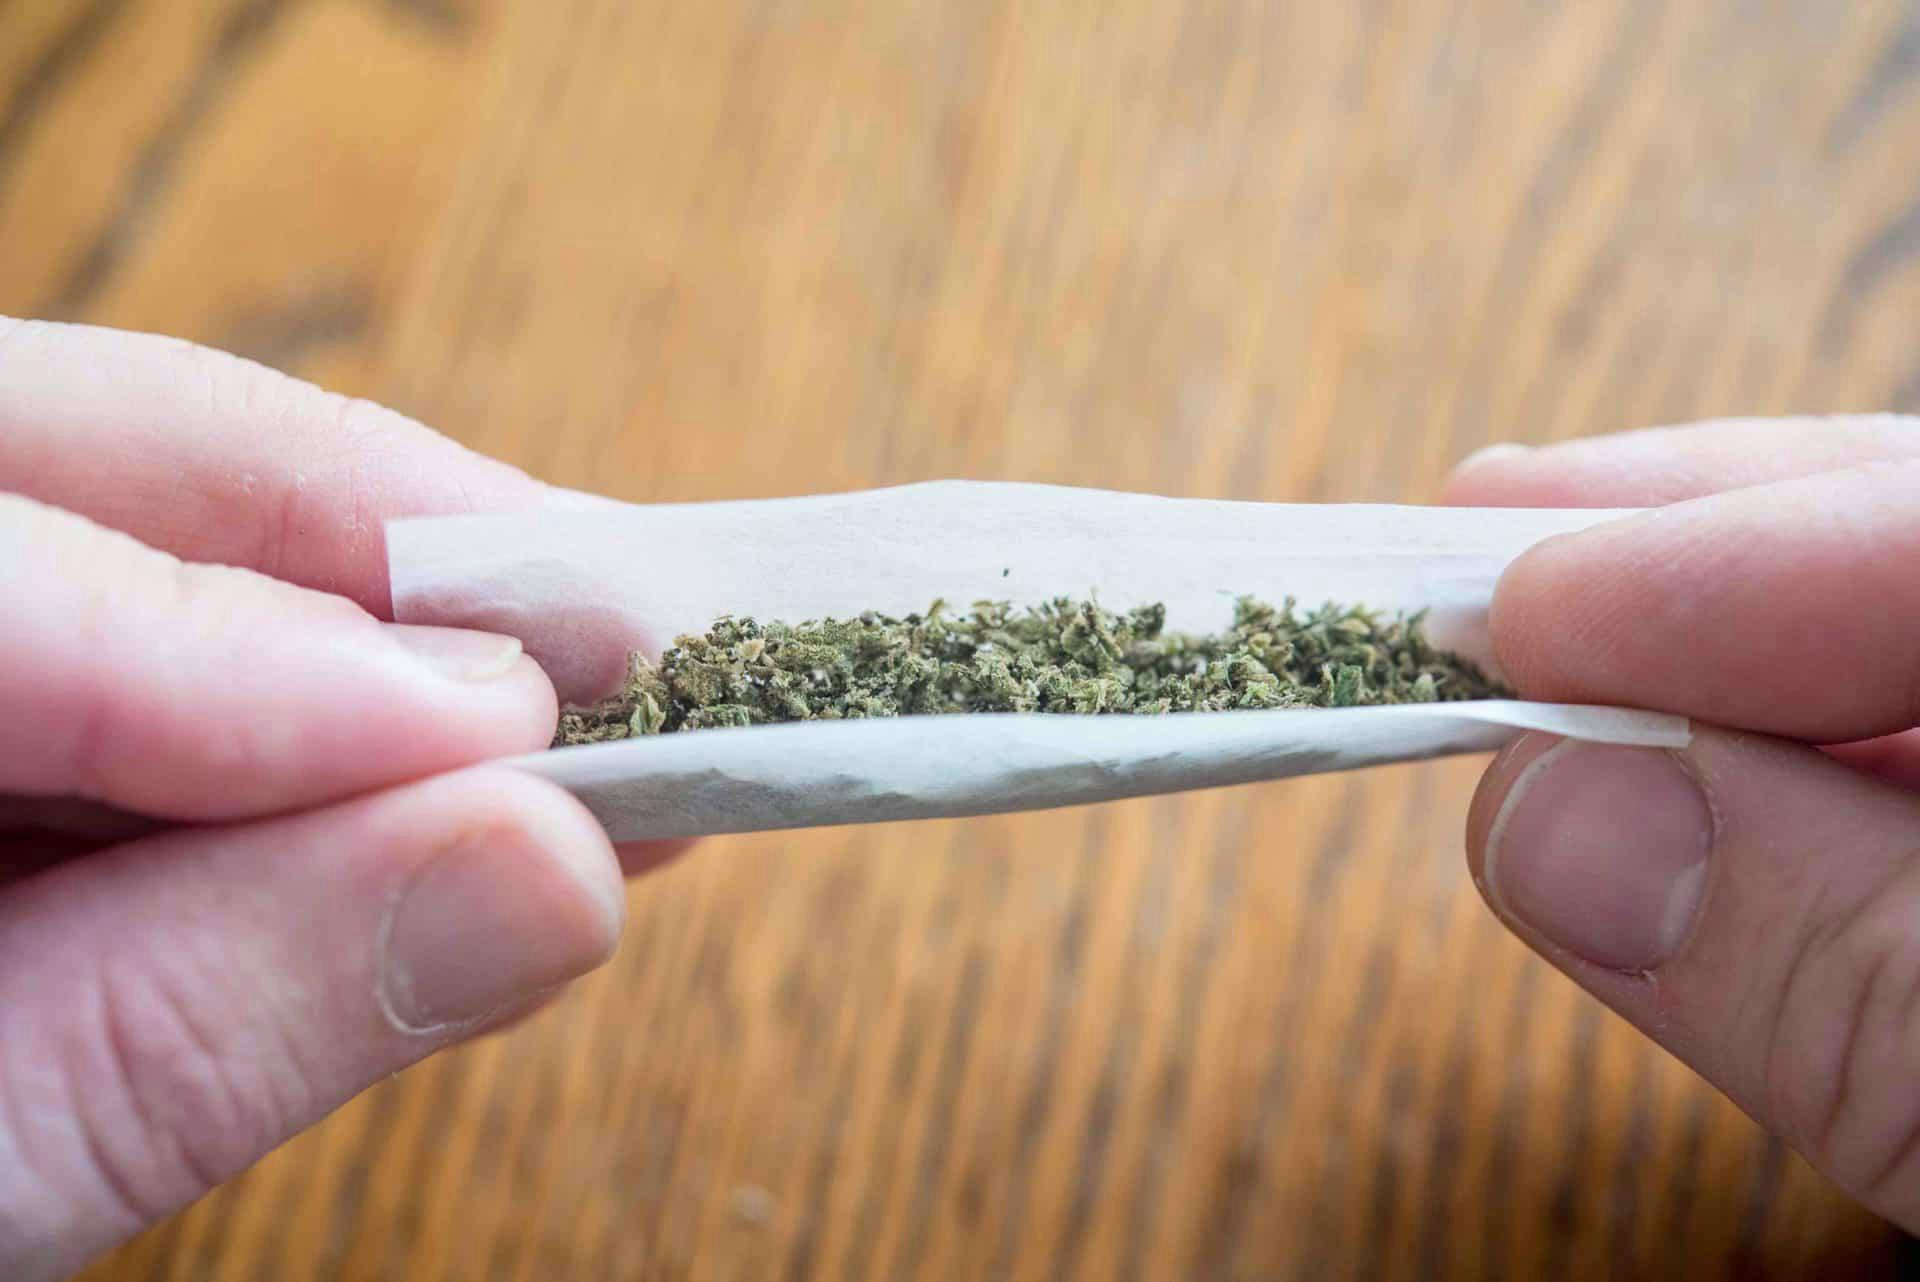
Using your thumbs and fore/middle fingers begin to roll the paper back and forth against itself, trying to keep an even pressure as you do. Your goal here is to compress the cannabis slightly, to make a tighter and more evenly-shaped smoke. Do this until you are happy with how tightly packed your smoke is. As an aside you don’t technically have to do the above solely with your fingers – You can use an object like a dollar bill or a gum wrapper to help roll the joint back and forth and compress it. This can be handy if you’re using very small papers, but we recommend trying to avoid reliance on anything other than just your fingers. Usually starting in the middle and working outwards is the best way to do this (see picture below).
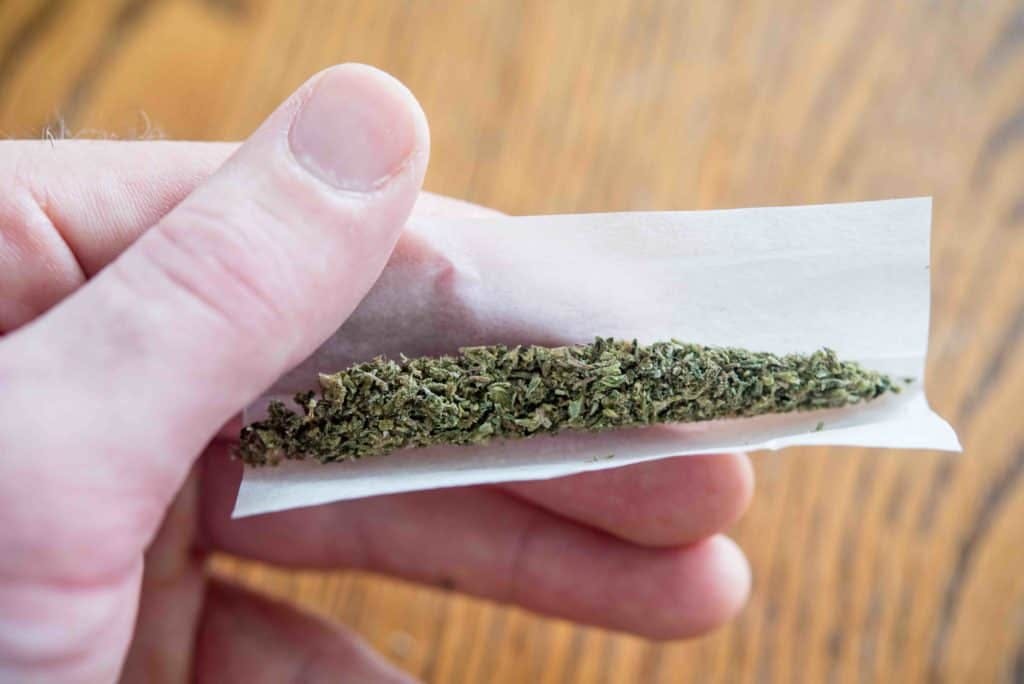
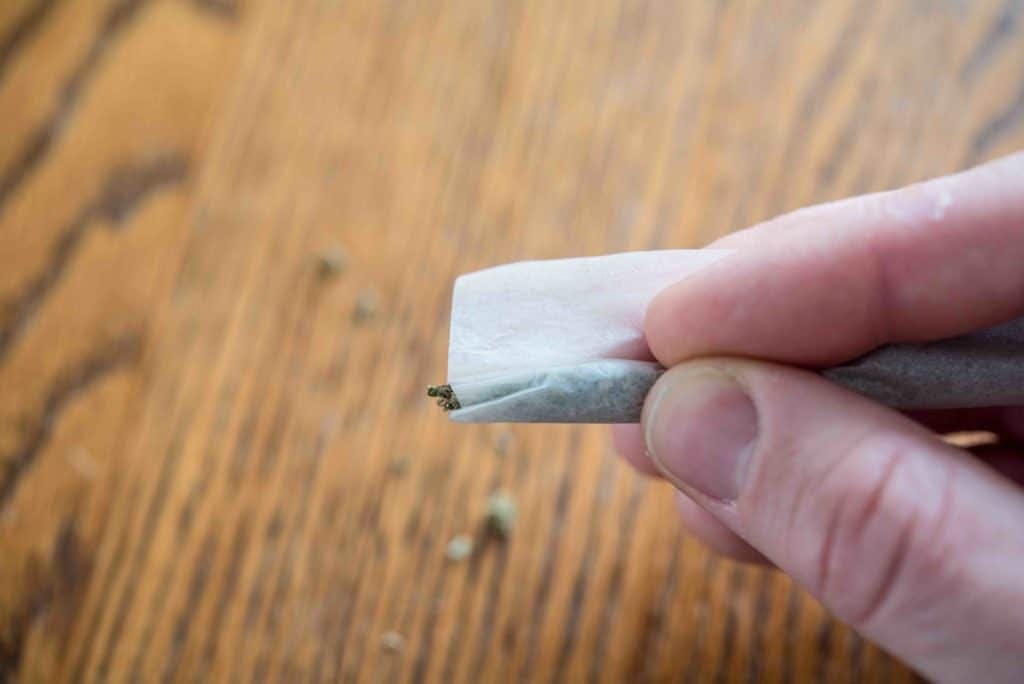
Step 5 – Prep for the wrap
Here’s the tricky bit. Again, roll using your thumbs and two fingers, this time going downward – This brings the unglued end of the paper close to where your compressed cannabis is, while the side with glue is sticking upward. As the unglued end reaches the cannabis transfer the pressure of your thumbs entirely to your middle finger and let go with your forefingers – You should still be holding the joint, just between your thumbs and middle fingers only.
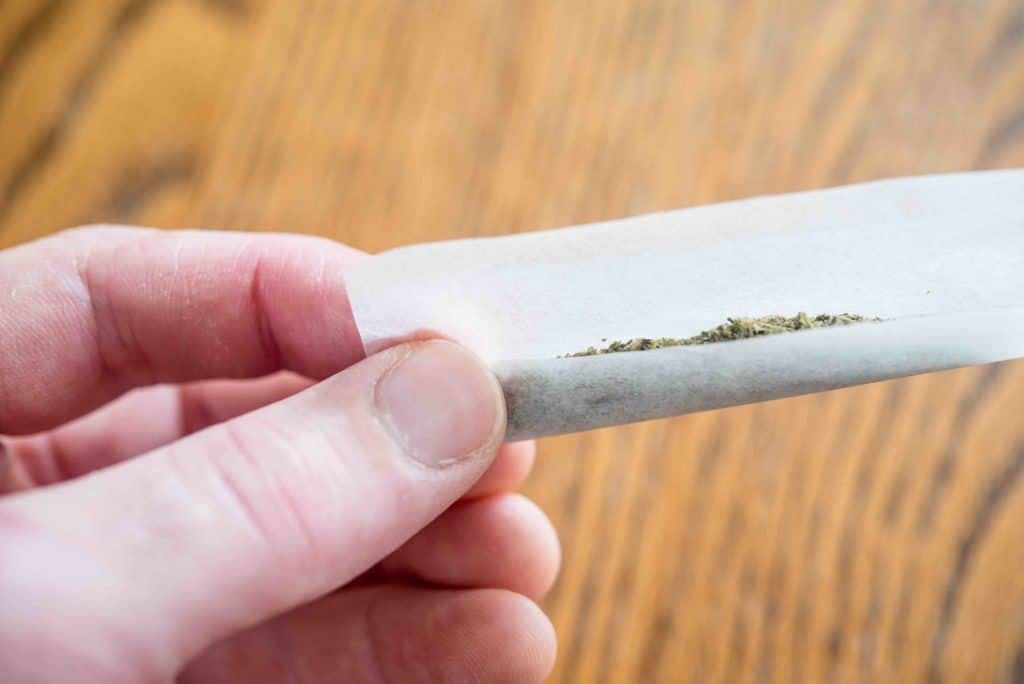
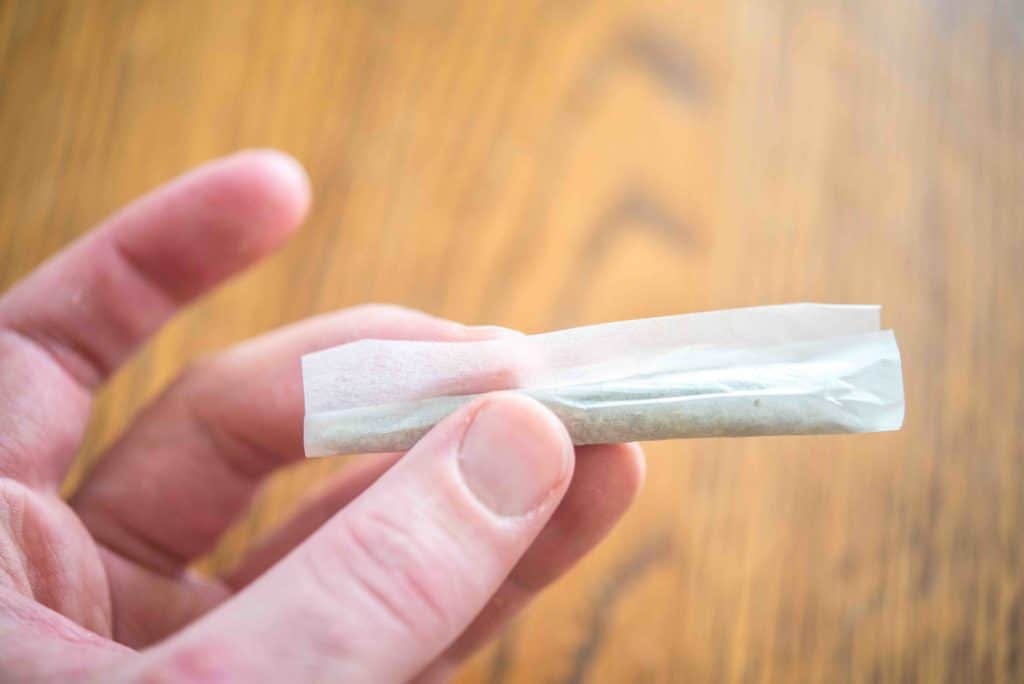
Step 6 – Tuck and roll
Tricky bit, part two. Holding the joint paper tightly on itself & against the cannabis, use the tips of your forefingers to begin pushing the glued side of the paper downward on top of itself, while simultaneously rolling your thumb inward against the cannabis and tucking the unglued side in against the ground plant. Keep the pressure at your thumbs tight, stretching the paper outward as you go to help remove wrinkles and keep a consistent shape.
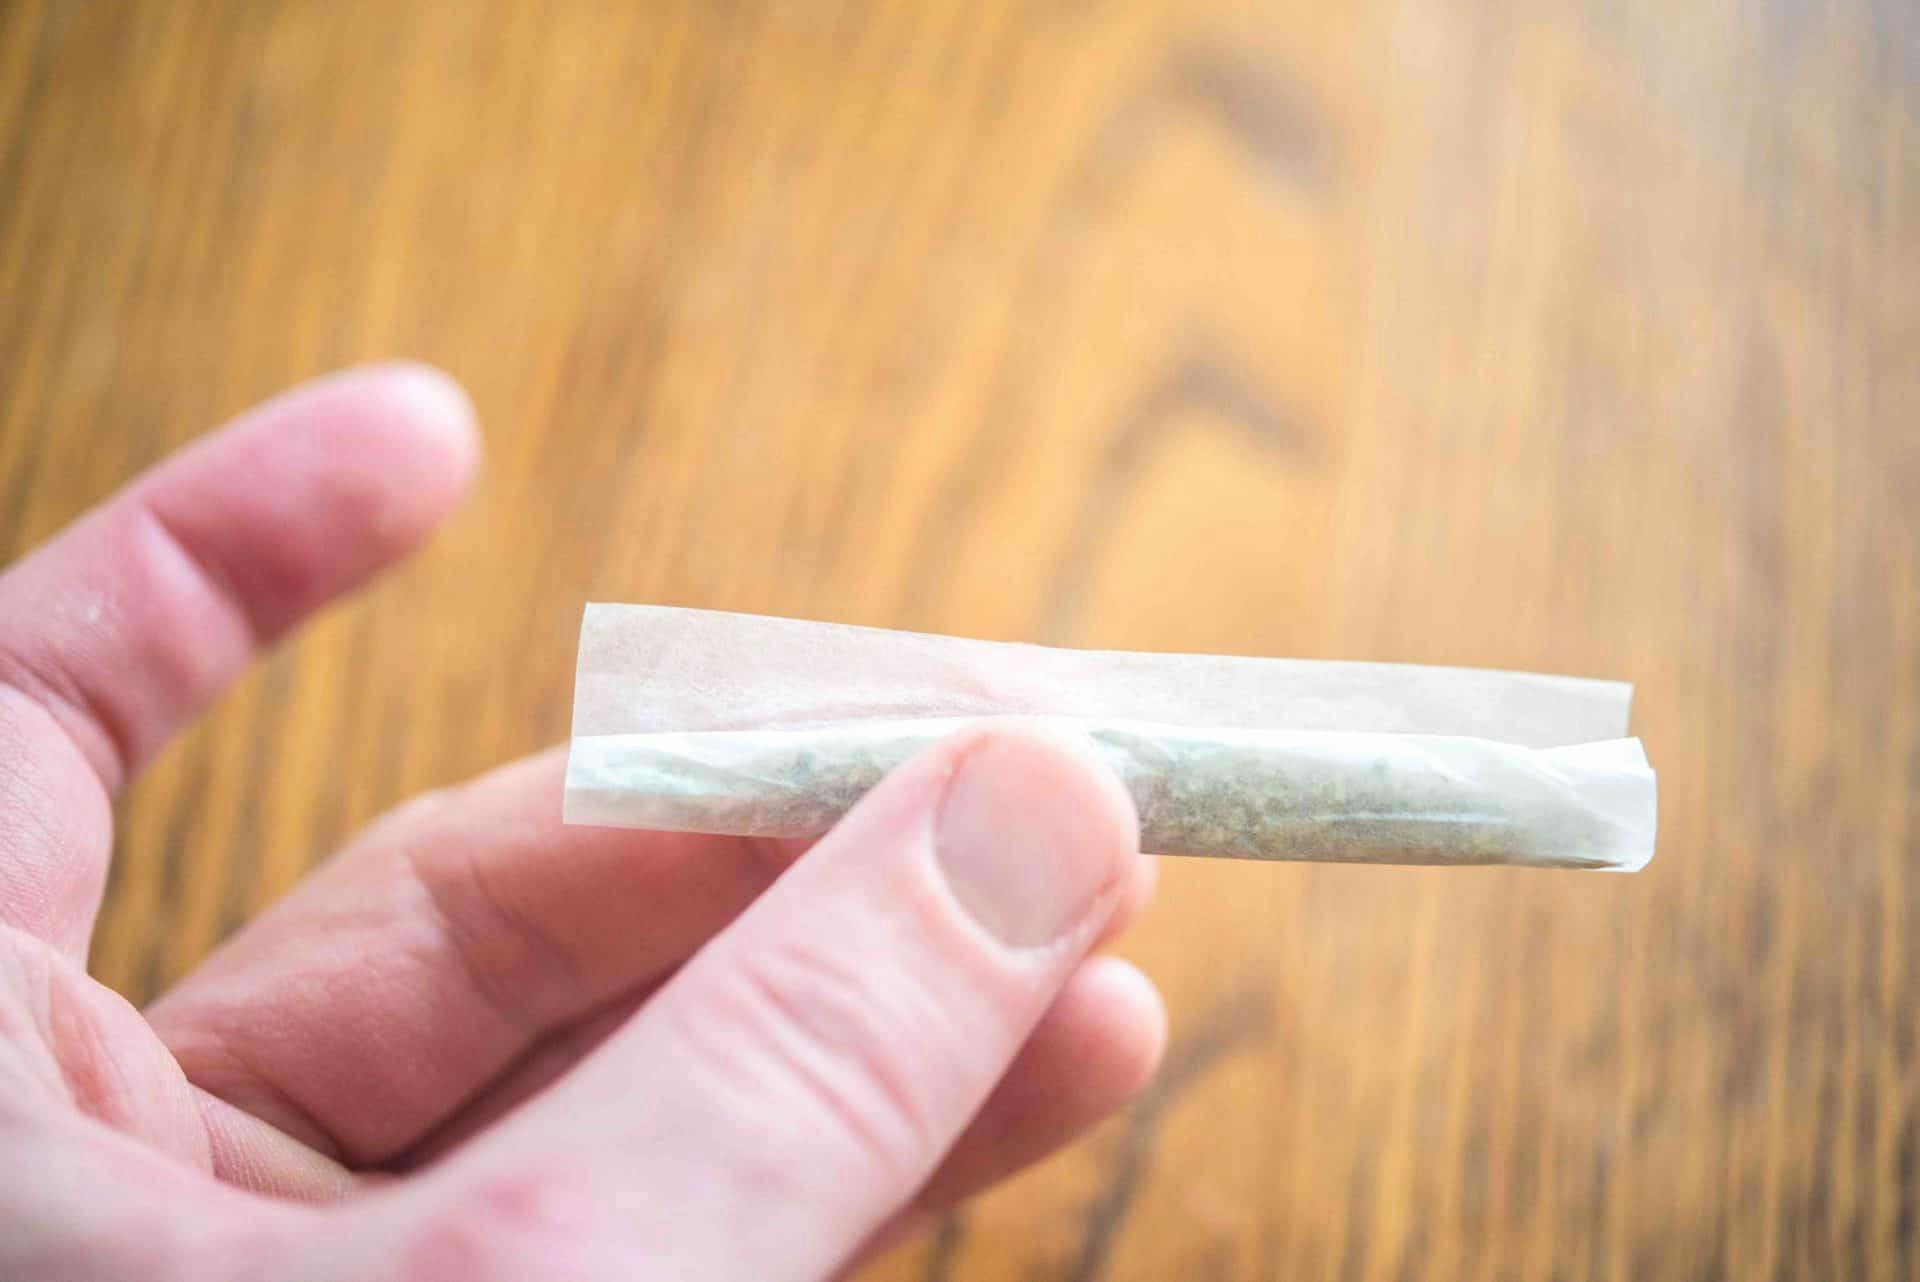
Step 7 – Lick & Stick
Continue this motion and you will begin to tuck the paper in on itself, trapping the marijuana within. Once you’ve run out of paper to roll in on itself it’s time to wet the glued side of the paper – This is typically accomplished by licking it, though water and other liquids will do.
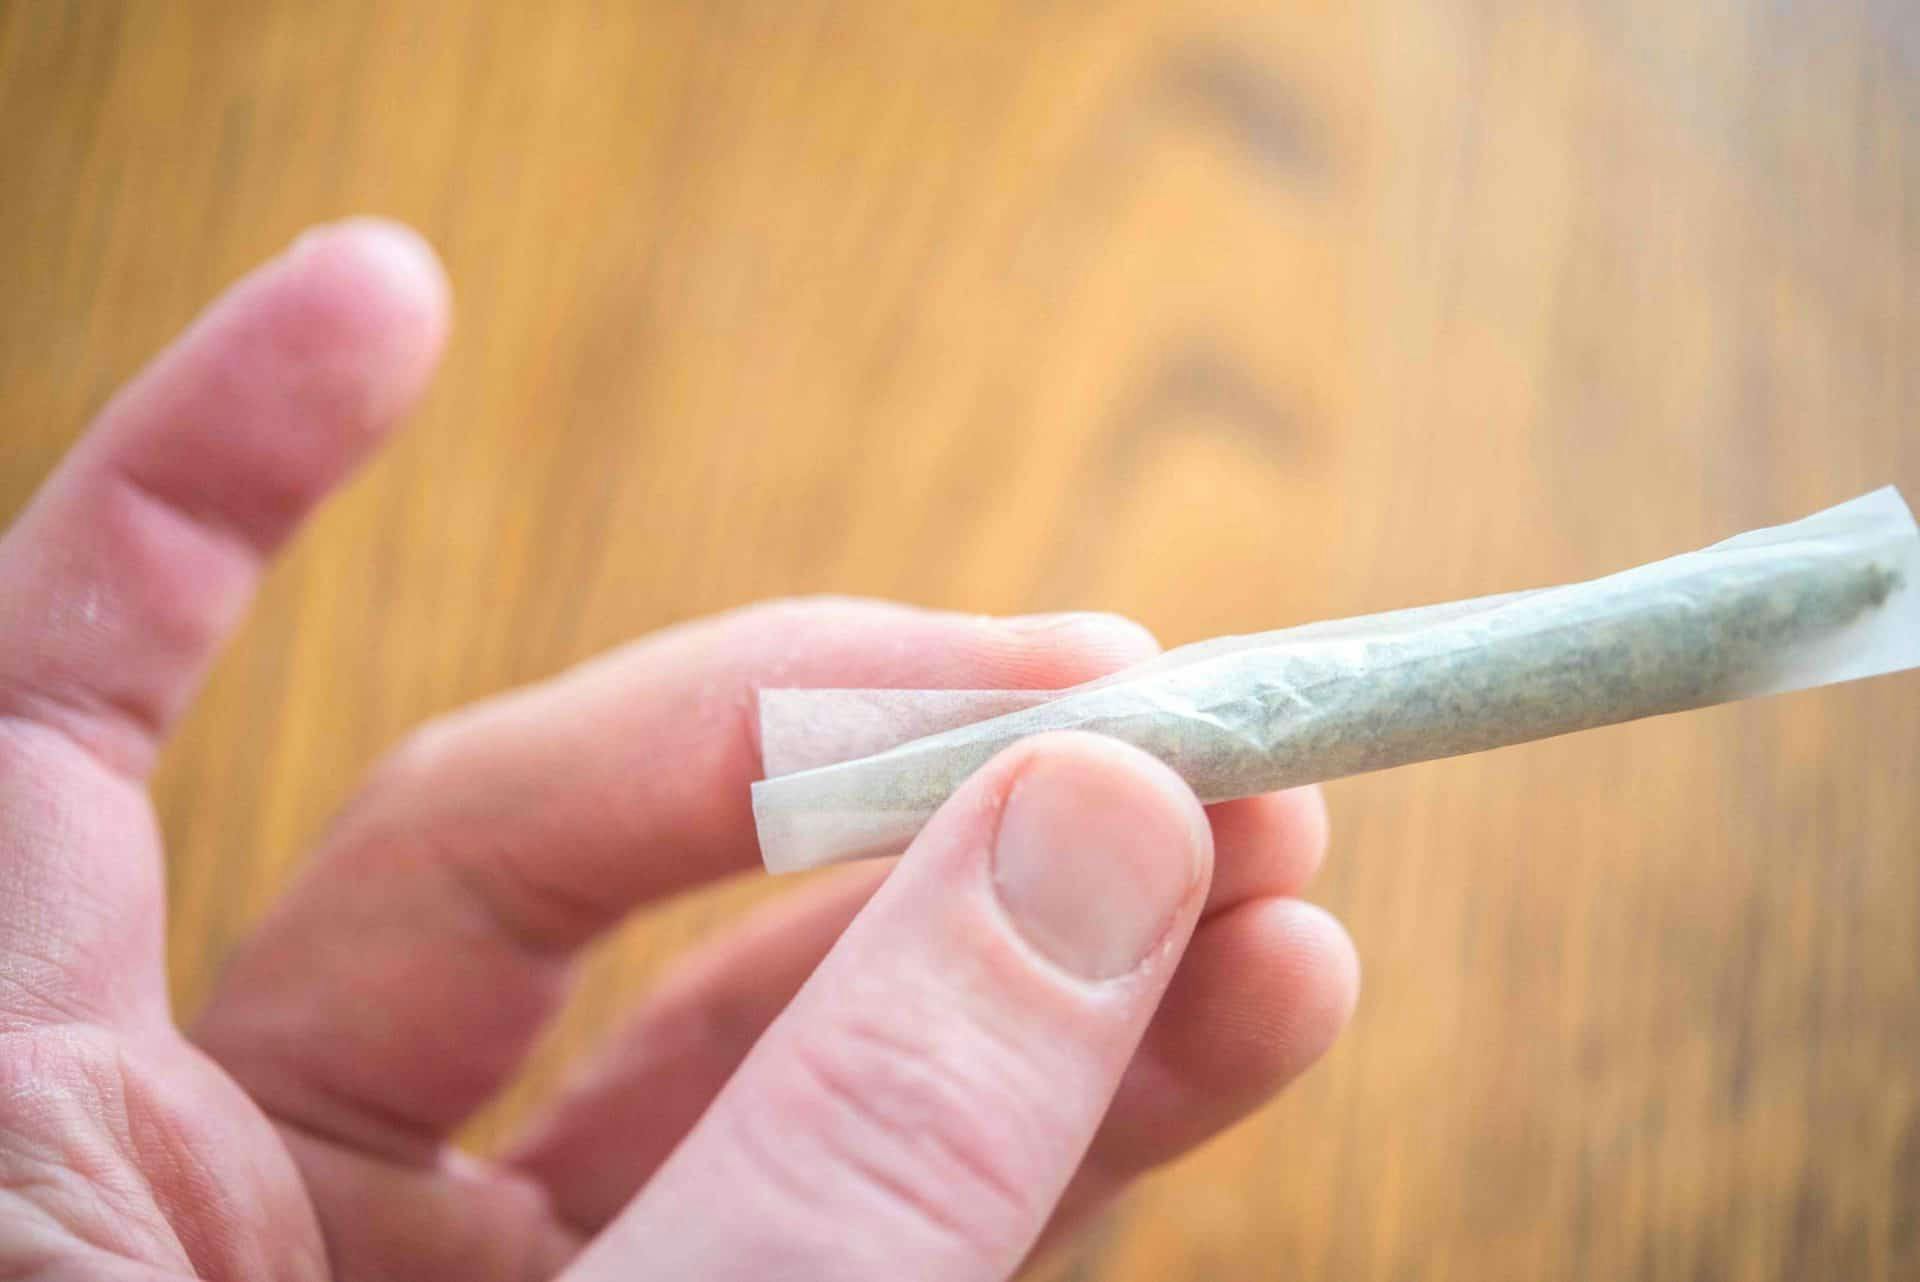
Step 8 – Roll it up
With your glue wet make the same motion you were making earlier, rolling the paper between thumb & middle finger while pushing the top half over with your forefingers. Make sure your joint is as tight or loose as you want it – As soon as that glue touches paper, it will stick.
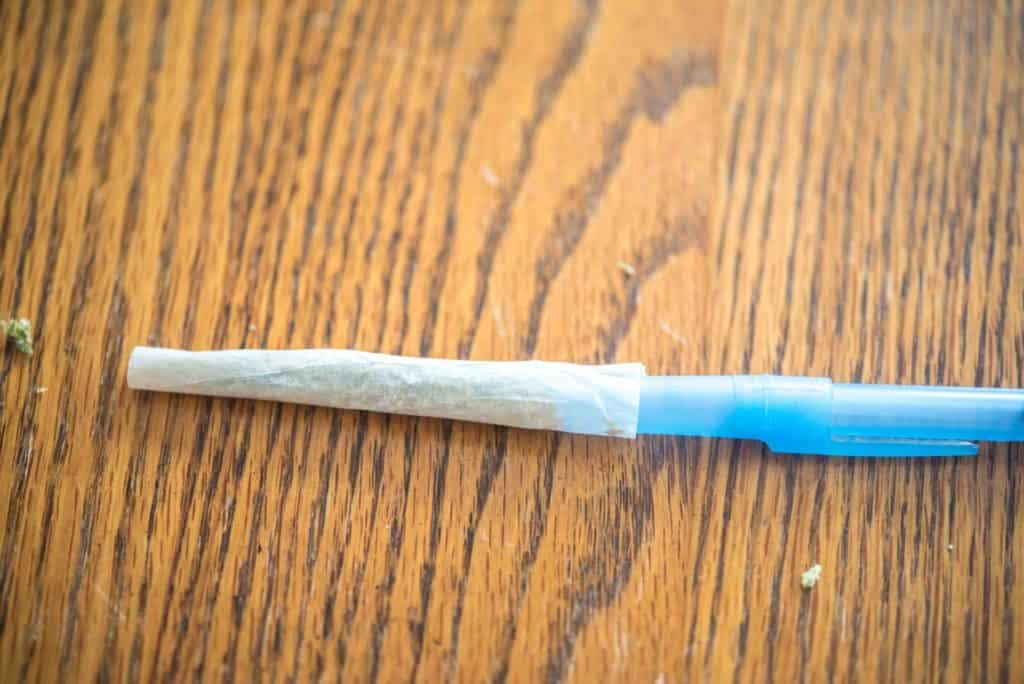
Step 9 – Taaaaaamp it in
From here, take a long, cylindrical object, such as a pen or straw, and push it into the open ends of your joint one end at a time. This compresses your weed even further for a longer lasting, tighter smoke. Depending on how dry or moist your cannabis is your joint might end up a little… abbreviated after being compacted. To fix this just add more ground cannabis in at the ends and tamp it down with your cylindrical poking device.
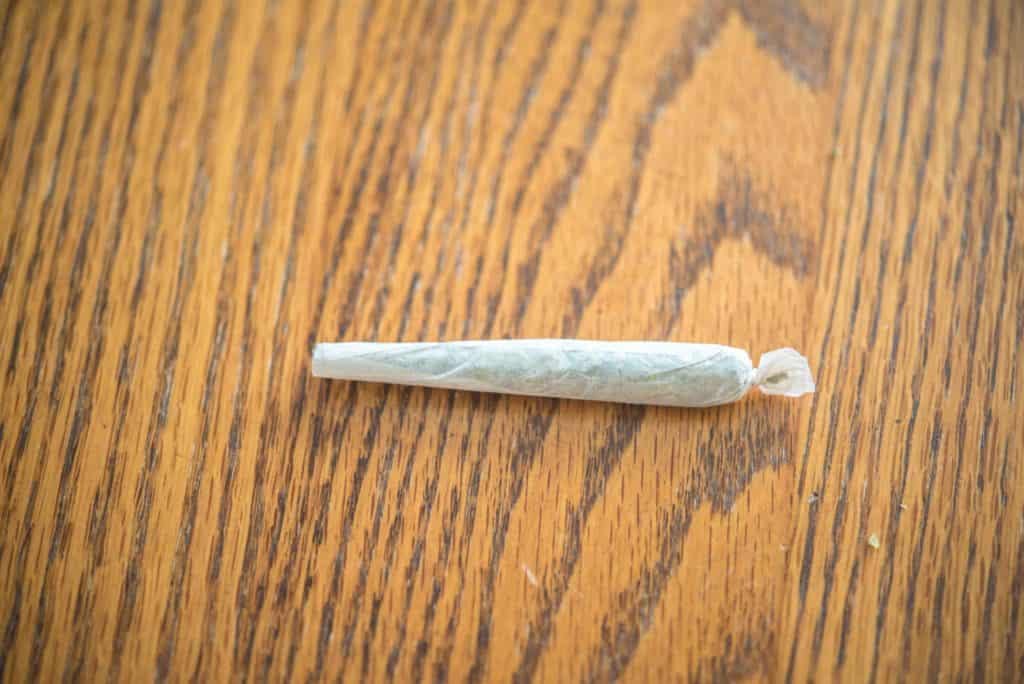
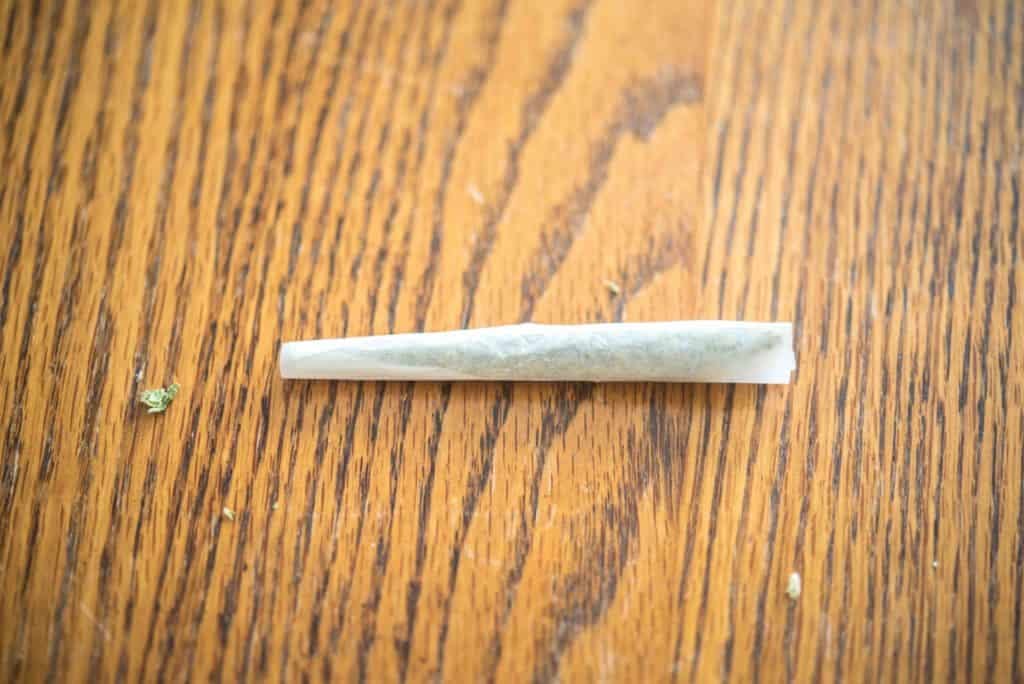
Step 10 – Finishing touches
For the finishing touches take one end and flatten it as best you can – This will be the end you smoke from. For the other end you can leave it open if you’d like, but twisting the end paper together into a little spiral is traditional – You know the one we’re talking about.
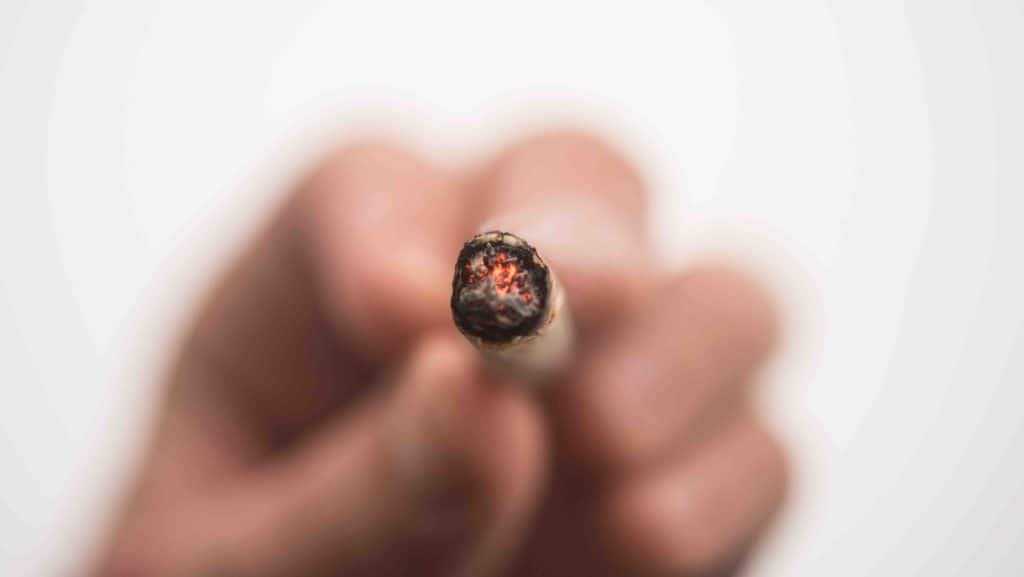
Step 11 – Light it up
Marvel at your technical skills and enjoy your smoke. Or, if it all went completely pear-shaped that’s ok too! Rolling a joint is, again, an art form, and every joint you fail at rolling is one step closer to becoming a master in your own right. Even if you have to start over from scratch no biggie – Papers are cheap and no weed need be wasted, just rip your non-masterpiece apart and try again. There’s no substitute for practice.
To Crutch or Not to Crutch
A “crutch” (often erroneously referred to as a “filter tip” or a “joint filter”) is a small piece of rolled-up paper/filter inserted into the smoking end of the joint during the rolling process. This can have several beneficial effects:
- Acts as a screen to keep marijuana bud from getting sucked into the mouth while smoking.
- Using the filter can make learning how to roll a joint easier
- Helps stabilize longer joints
- Keeps the smoking end from getting damp and hard to hold
Note this list does not include “filtration”; a crutch is not like a cigarette filter, and will not make your joint filter out any smoke. This is a good thing, as a standard cigarette filter will catch THC and other cannabinoids while you smoke, wasting a good portion of your cannabis – Crutch good, filter bad. Ultimately whether or not you’ll want to bother is entirely up to you but, speaking purely for myself as the article writer, I never roll without one.
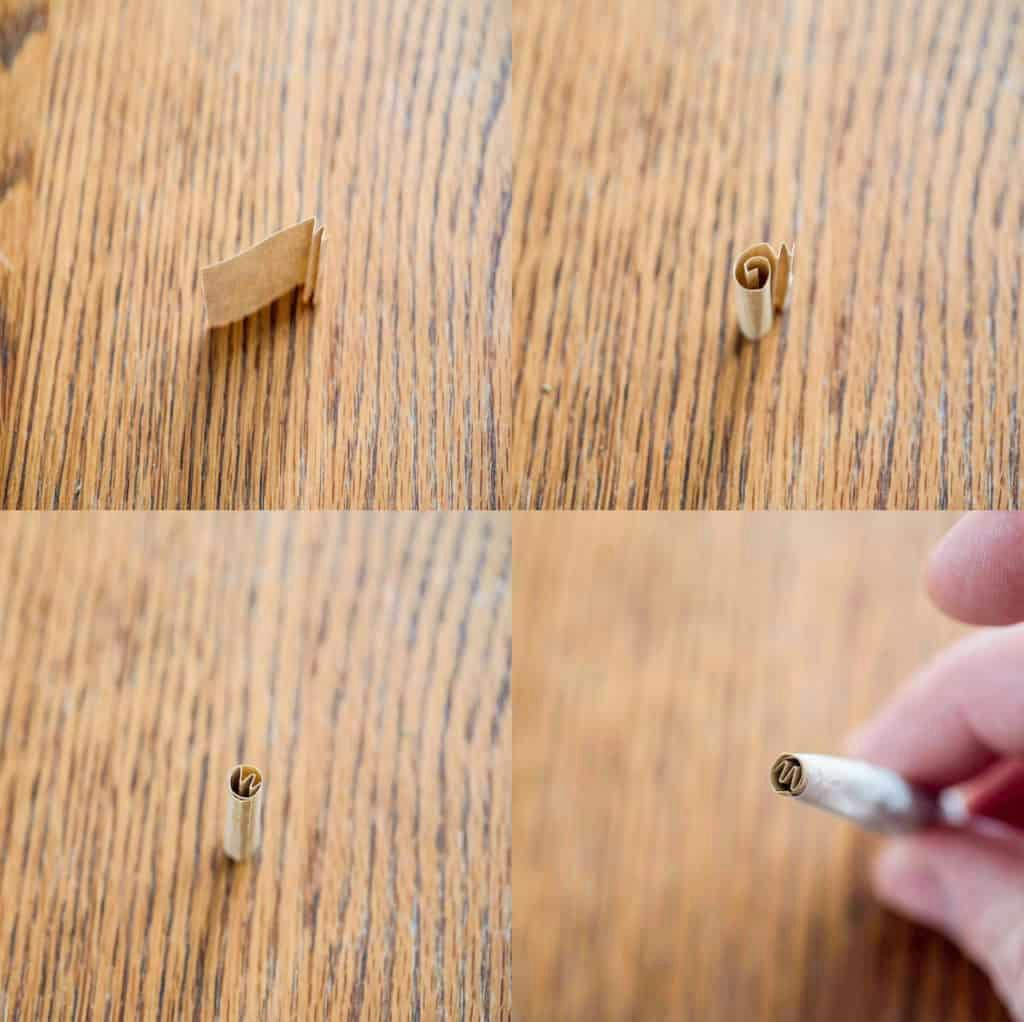
Crutches can be made out of any stiff, bendable material – Thick paper or card stock (IE: business cards, or the pack your papers came in) are most common. To make an effective and simple crutch, just take your thick paper and accordion fold one end. Then, roll the opposite end towards the accordion. Unravel it and “wrap” the paper around the accordion fold.
What Are the Best Joint Rolling Papers?
Anything that feels good in your hand is what you should use, but for beginners some papers may be better than others. If just learning how to roll a joint we recommend looking for a rolling paper that’s a bit less, well, papery – Cheaper and less expensive brands are easier to tear and can have weaker glue, leading to a frustrating experience.
For the true beginner learning how to roll a joint,
are a recommended purchase – Made of natural, unbleached hemp Raw brand rolling papers hold their shape well and are often more resistant to tearing. A little pricier than, say, a pack of Tops, but worth it if setting out to learn.Should I Use a Joint Rolling Machine?
Learning how to roll a joint with a roller machine is a cheap, simple way to crank out a large amount of fairly consistent smokes in a short amount of time. However cheaper machines can and will fall apart after repeated use, and relying on a rolling machine means you’ll need to carry one with you any time you think you might want a smoke. Rolling machines can be convenient when available, but ultimately we feel learning how to roll a joint by hand is a better long-term solution.
How to Roll a Joint: Advanced Joint Rolling Techniques
What we’ve listed above is the bare basic method on how to roll a joint, but there are plenty of other joint rolling techniques out there that are worth exploring. We’ll go over the basics of some more advance methods of how to roll a joint here, and encourage you to explore to find some of your favorites.
The Cone Joint
Similar to our Gold Standard listed above, a cone-shape joint is often achieved by using a crutch at the end, and aiming for a wide, non-symmetrical shape. Cone Joints will likely require a lot more post-roll stuffing of cannabis and can be somewhat wasteful in terms of plant matter being burned at any given time. Aesthetically pleasing, but not entirely efficient.
The Back Roll Joint
Think a reverse version of The Gold Standard – Here, your paper is inverted, with the glue facing downward and nearest to your body. When you roll, you wet the glue and tuck it inside of the joint, ultimately leaving a small “fin” of paper sticking outward from the joint’s back. This little fin can then be lit on fire to remove it from the joint, leaving you with a solid smoke. A simple-but-impressive way to roll a joint for a party trick.
The Cross Joint
The cross joint is essentially a Frankenstein’s mashup of two joints, one smaller one inserted into a hole inside of a larger one, then strapped together using torn bits of glue from other rolling papers. You’ll definitely want to use a crutch/filter tip in the base joint, since these get extremely heavy.
In our humble opinion the Cross Joint is a lot of effort spent on something you’re just going to burn, and those three lit ends are constantly spitting out wasted smoke when not in use. Neat looking, but ultimately a way to roll a joint that we think is worth the effort.
The Wrap-up
When you’re learning how to roll a joint it’s easy to get lost in all the different techniques and methods. Mastering the basics is always an important first step, and your joint rolling skills will be all the better for it. We hope you’ve enjoyed our article on how to roll a joint – Remember, cone or spliff, filter tip or no, the best joint for you is the one you enjoy rolling. Happy smoking!