Anyone who’s used an herb grinder for cannabis over more than a few weeks will know the sensations – and accompanying sound effects – that let you know when it’s time for a clean. But while it may be relatively easy to tell when your grinder is due for a quick scrub figuring out the best way to get your grinder squeaky clean (without wasting all that precious THC inside) can be tricky.
In today’s article, we’ll have tips and information on how to clean a grinder for newcomers and seasoned smokers alike. We’ll go over some grinder basics, talk about why grinders need to be cleaned regularly, and even delve into some unique infusions you can make at home using your grinder, and its accompanying gunk. So strap in – It’s time to begin our deep dive into giving your weed grinder a deep clean.
What Is a Grinder?
Odds are if you’re here, you already know this one, but just for the sake of completeness: An “herb grinder,” or just “grinder,” is a small, typically round device for, appropriately, grinding herbs – In our case, cannabis.
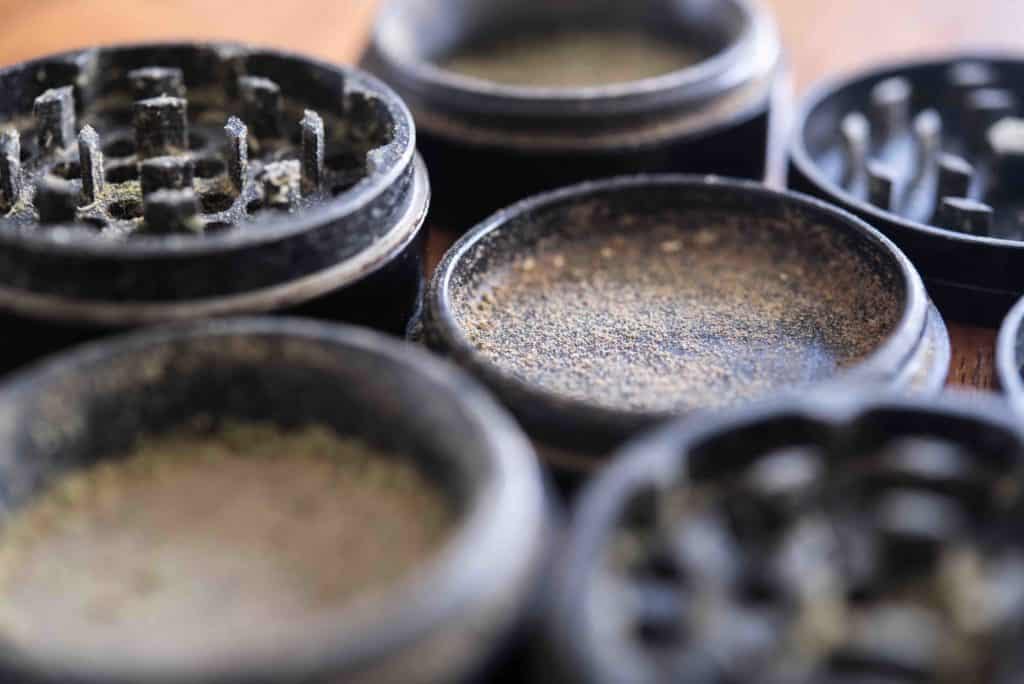
Meant to be held in hand, the grinder, in its most basic form, consists of two parts: A top half and a matching bottom half, which fit together seamlessly. Each half has a set of “teeth” along the interior, which impale and tear apart any plant matter trapped within, “grinding” it apart.
Logically, it’s this same grinding process that causes the grinder to need cleaning eventually. With any plant material that could be used, the friction and compression of the grinder teeth will eventually cause bits to stick to the surface; this is compounded when grinding cannabis flower, as the resin and trichomes from marijuana are notoriously sticky even without the application of friction and heat.
Gunking Up the Works
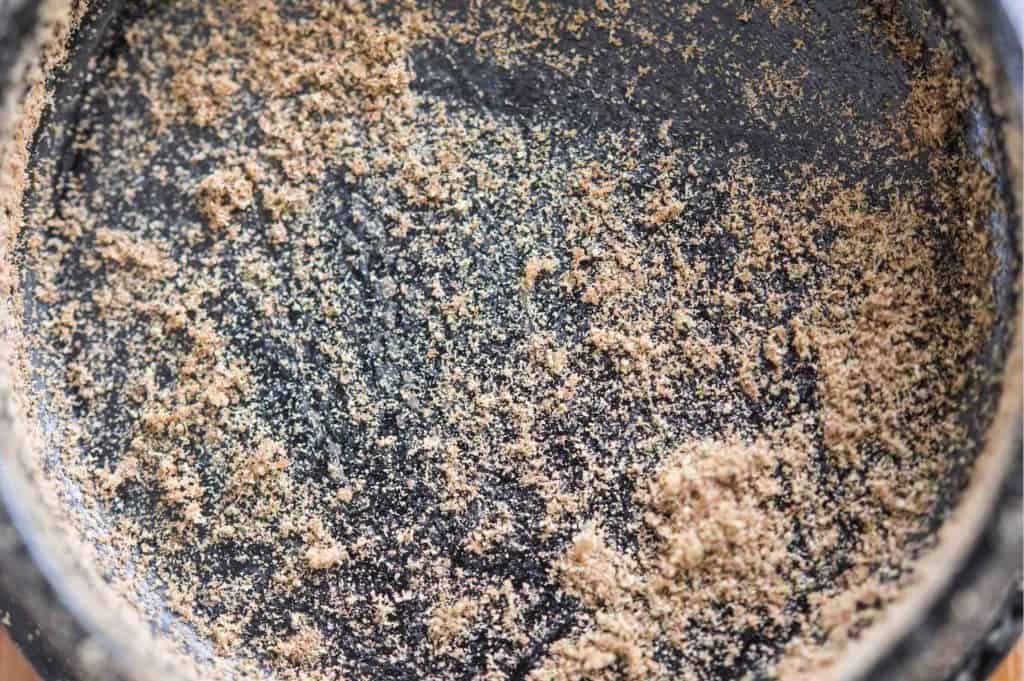
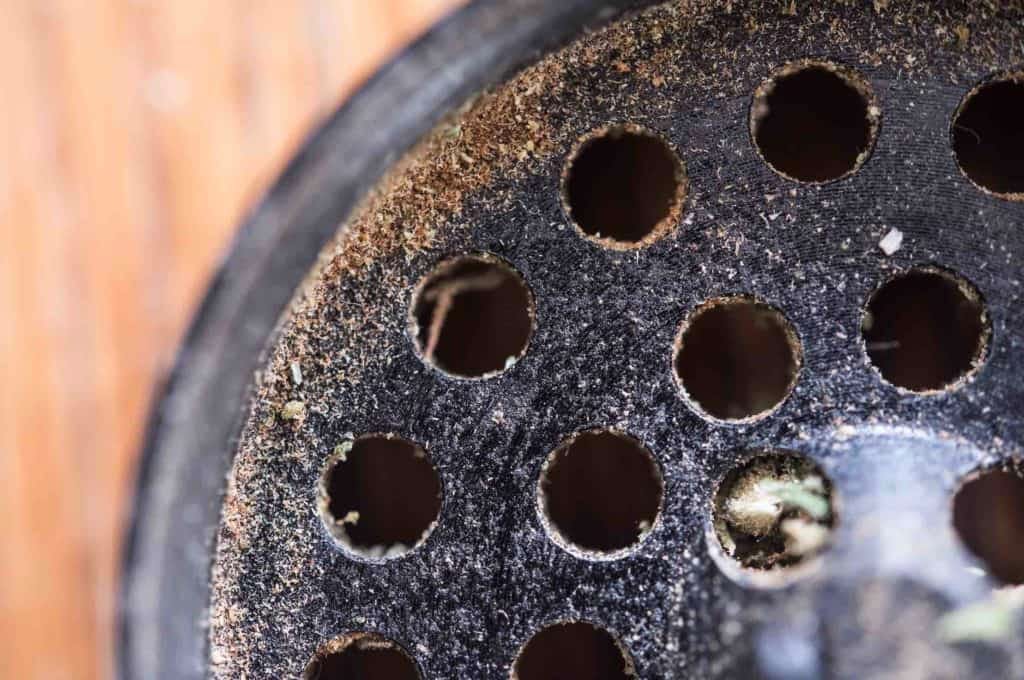
The more the grinder is used, the more that sticky marijuana plant material begins to build up around the teeth, edges, and, depending on model, screw grooves – Like we said in the opening, a grinder that needs cleaning can be pretty obvious, both due to it’s resistance to turning and the often loud, high-pitched squealing noises when it finally does manage to rotate.
Thankfully learning how to clean a grinder doesn’t have to be hard – Assuming you don’t care about the residue left inside, a simple soak ‘n scrub in soap & water will have your weed grinder back to perfect working order in no time (with some caveats; see further below). But what about that residue? Should you care about it at all?
Probably, yes.
Gunk, But Gold
When your grinder gets clogged, that “gunk” (and if anyone out there is familiar with a better word for this stuff, please write in and let us know) is actually filled with valuable THC. These compressed trichomes and leftover plant matter are far from trash and can be a highly potent substance in their own right, very similar to certain types of hashish. Though you can wash this away using soap and water, wouldn’t it be better if you could harvest it for further use?
Assuming you’re interested in saving these stuck-in bits, our recommended grinder cleaning process really depends on two factors: what material your grinder is made from and how “clean” you want to get it. Let’s talk about the former first.
What Kind of Grinder Do You Have?
Grinders typically fall into one of two categories: Plastic (or acrylic) or metal.
Plastic grinders are typically only two-chamber models (as described above) and can be notorious for needing routine cleaning. Though acrylic/plastic grinders are cheap, their versatility when being cleaned can be limited; solvent-based cleaning solutions can weaken or damage plastic grinders. Additionally, these objects are not usually labeled as “food grade,” making poor matches for any infusion techniques.
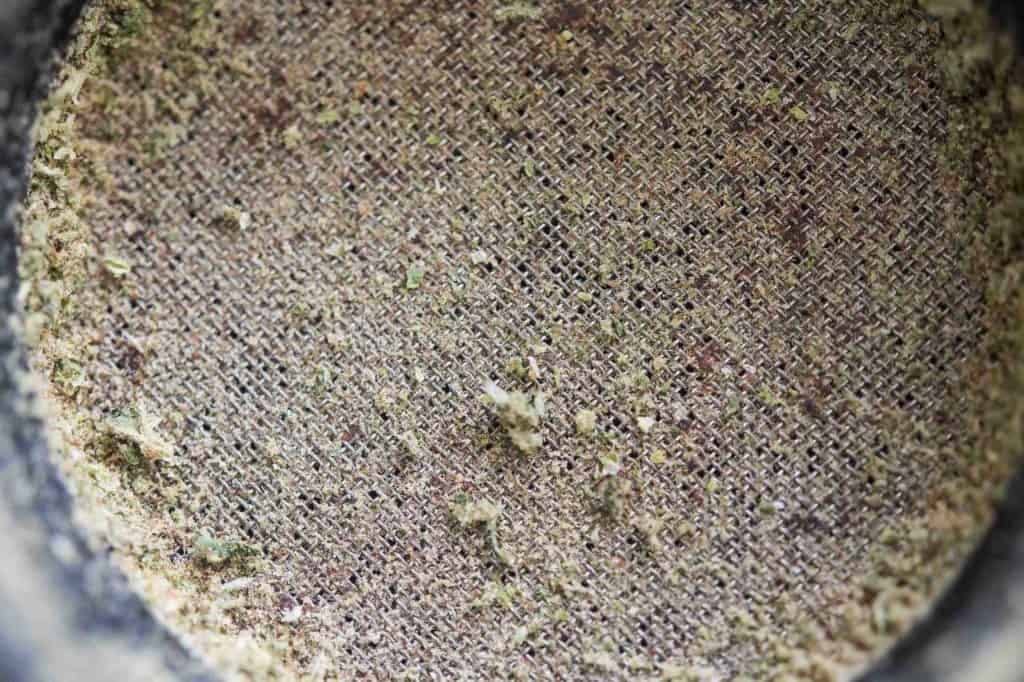
Metal grinders can come in multi-chamber formats, such as grinders that contain a kief screen/catcher. However, they tend not to need cleaning as regularly as plastic grinders. Their screw-on sections are highly vulnerable to getting stuck together from stray bits of kief. Occasionally, you’ll see some metal grinders with a chamber coated with a non-stick substance like ceramic; these pieces are usually straightforward to clean and eliminate issues like rust that can occur with a soap & water wash.
Now, there are multiple levels of “clean.” Sometimes you want to get your grinder back to how it looked on the store shelf. Sometimes you just want to pick away at the weed stuck inside until it can twist around without impersonating a mandragora. We’ll talk about the latter first and then get into some options for the former afterward; our method for a basic cleaning can be done on any grinder, while the more advanced techniques depend highly on what your grinder is made from.
Giving Your Grinder a Basic Clean
Before going any further, let’s talk about a point of contention. There are many (many) sources of information online telling you to freeze your grinder for 30 minutes before trying to clean it. The theory behind this is that freezing your grinder first will help make the residue inside more brittle and easier to break away from the grinder. This is… if not entirely “wrong,” then probably completely pointless.
To Freeze or Not to Freeze?
Freezing your grinder before cleaning it will make the cannabis residue inside more brittle, yes, for as long as it stays frozen. However, unless you’re going to actively clean your grinder in a walk-in freezer or a Minnesota snowstorm, the body heat transferred from your hands will likely already have your grinder warmed up by the time you sit down to pick away at it, thus rendering the exercise moot.
The act of being exposed to the freezer is also likely to help wick away both moisture and cannabinoids, decreasing the potency of your pseudo-hash (this can be mitigated somewhat by placing your marijuana grinder in a Ziploc bag before freezing). Either way, unless you want to clean a grinder that was literally just used for some incredibly moist cannabis, this is a piece of advice we feel you can safely ignore.
Onward to Cleaning
Regardless of whether you decide to give your grinder a stay in the chill chest, your next steps are the same. You’ll need:
- Your grinder
- A pointy instrument, such as an icepick or tweezers
- A flat surface, glass or metal preferred
- A stiff-bristled brush (optional)
To begin, make sure your work area is prepared. We recommend doing this while seated at a table, holding the grinder over either a large glass dish, a clean cookie tray, or something else non-porous that will be good
. Porous materials, such as wood, are not recommended, as they can trap kief and pieces of compressed flower on their surface.Once you’re prepared, you can now begin. First, disassemble your grinder into its individual parts and chambers, setting them aside to focus on one piece at a time. When looking in your grinder, you should see quite a bit of solid matter stuck to the teeth, sides, and grooves of the piece; using your pointy tool, you can now begin to scrape and chip them away.
Chipping Away THC
As you clean your grinder, the small, solid chunks of material will fall to the surface below, ready to be collected after you are done. When cleaning, pay extra attention to any screw threads along the side, running the tip of your implement around them fully and then using your stiff brush to knock any remaining particles off and into your collection receptacle.
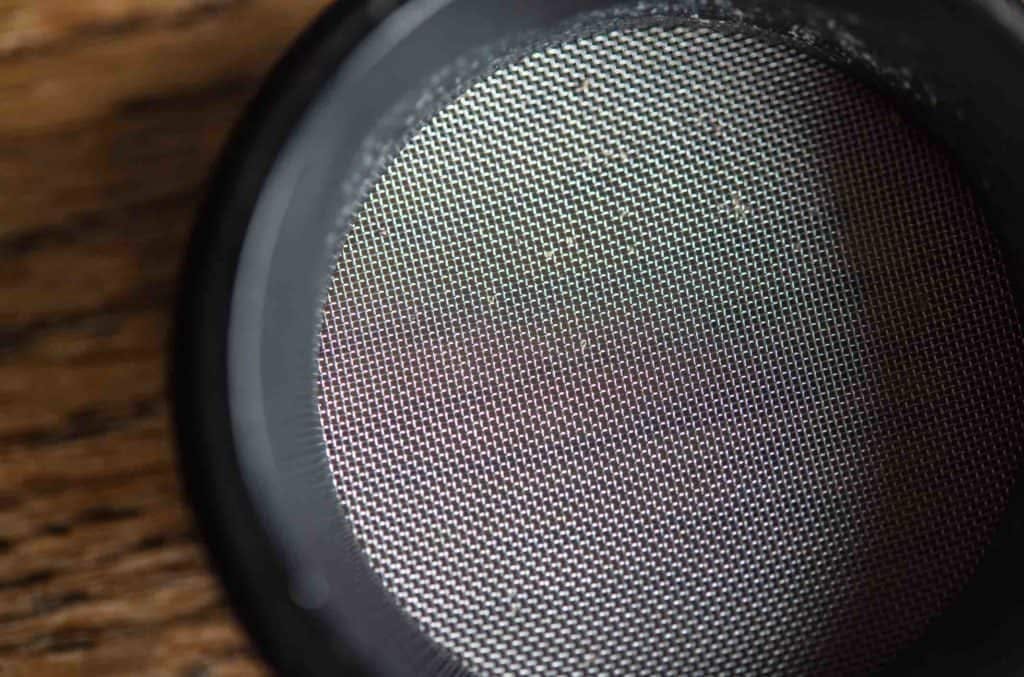
If your grinder has a kief chamber and screen attached, we recommend placing it sitting flat on your work surface and using your scraping tool to rub back and forth over the screen’s surface gently. Once content with the amount of kief that has been knocked off, flip the screen section over and repeat along the opposite side to ensure as much has been removed as is possible. Feel free to give the screen and kief chamber a good scrub with your brush as well, but be warned as this may lead to kief being trapped inside the bristles; the stiffer your brush, the more this can be avoided.
Deep Cleaning with Soap & Water
We mentioned the soap & water method for cleaning a grinder earlier, and if you have a plastic or acrylic grinder, this may be your only real way to get your grinder pieces back to a polished shine. To clean a grinder with soap and warm water is a fairly easy process and just requires a bit of time, soap, and a good brush. Your water should be hot to the touch; pouring boiling water over your grinder won’t hurt but will require you to wait for it to cool before digging in with your brush of choice.
Both plastic and metal grinders can be washed with soap and water, but rust can be a concern for metallic grinders. For these, we recommend taking the time to make sure it’s thoroughly dry; finishing with a quick isopropyl alcohol rinse before a final, thorough drying with a paper towel can help remove any remaining water particles.
Advanced Grinder Cleaning: Extracts & Infusions
If you do have a metal grinder, though, there are ways you can give your piece a thorough clean while still retaining all the THC goodness that would otherwise get washed away with soap and water. Today we’ll go over two of the more popular methods.
How to Clean Your Grinder with Isopropyl Alcohol
Cleaning your grinder with rubbing alcohol is a very simple process, requiring nothing more than your grinder, a bottle of high-proof isopropyl alcohol, and a smooth-surfaced (glass, metal, etc.) bowl or other containers. Simply place your grinder pieces into the container, spray them down with rubbing alcohol, and let them soak. Agitating the grinder as it sits in the alcohol is recommended, as this will help the alcohol dissolve all of the THC residues within.
Times vary but anywhere from one minute up to ten should be more than long enough to get your grinder in shape. Next, we recommend a pair of kitchen tongs to remove the grinder pieces from the remaining isopropyl alcohol (which should now be discolored). Once lifted up from the bowl, you’ll likely notice a thin brown film on your grinder’s surface – This is cannabis oil and can be removed by giving the grinder pieces a final quick rinse with alcohol over the bowl to make sure no product is wasted.
From here, your alcohol will need to evaporate off, essentially replicating the process for making what is known as “ISO Hash”; we go over this in greater detail in our “How to Make Hash” article, but this is not a process without its dangers, and we recommend keeping your isopropyl alcohol + cannabis mixture in a well-ventilated area away from power outlets or other sources of spark/flame. Again, for more detailed guidelines (and warnings), make sure to check out our article linked above.
How to Clean Your Grinder with Milk
Of course, if the thrill of potentially detonating your kitchen sounds a bit daring for your tastes, you can also work on making a (non-explosive) emulsion with your grinder. Again, plastic and acrylic grinders are not particularly well-suited for this task, as putting
; a metal grinder, though, can be used to make an infusion simply by dropping the grinder into the fat-bearing liquid of your choice.We talk about
, but one interesting candidate for cleaning your grinder is common household milk. For this cleaning process, you’ll need milk, your grinder, and a double boiler; if you lack a dedicated double boiler, a glass or metal bowl set on top of a regular water-filled pot will do the trick.Our method is simple: Place the grinder in the top part of the double boiler, cover with milk, turn on the stovetop to medium-high heat, and wait. Keep an eye on your mixture as it steeps – You’ll want to make sure this doesn’t go above 150°F, to help protect both your milk and your cannabinoids. Otherwise, after a couple of hours in the drink, your grinder is ready to be removed.
You’ll want to give clean your grinder with a quick soap/water/alcohol rinse to remove the remaining milk, and may want to check for any remaining clumps of plant matter that weren’t removed in the steeping process – Having been infused into the milk, anything remaining on the grinder can be safely scraped out and thrown away. Otherwise, your infused milk should now be ready for consumption.
Wrapping Up
Taking the time to clean your grinder doesn’t have to be difficult and can do wonders for the ease of use, efficiency, and keeping loud/annoying noises at bay. We hope our article has been of help in teaching you some new tricks for how to clean a grinder – Happy smoking!