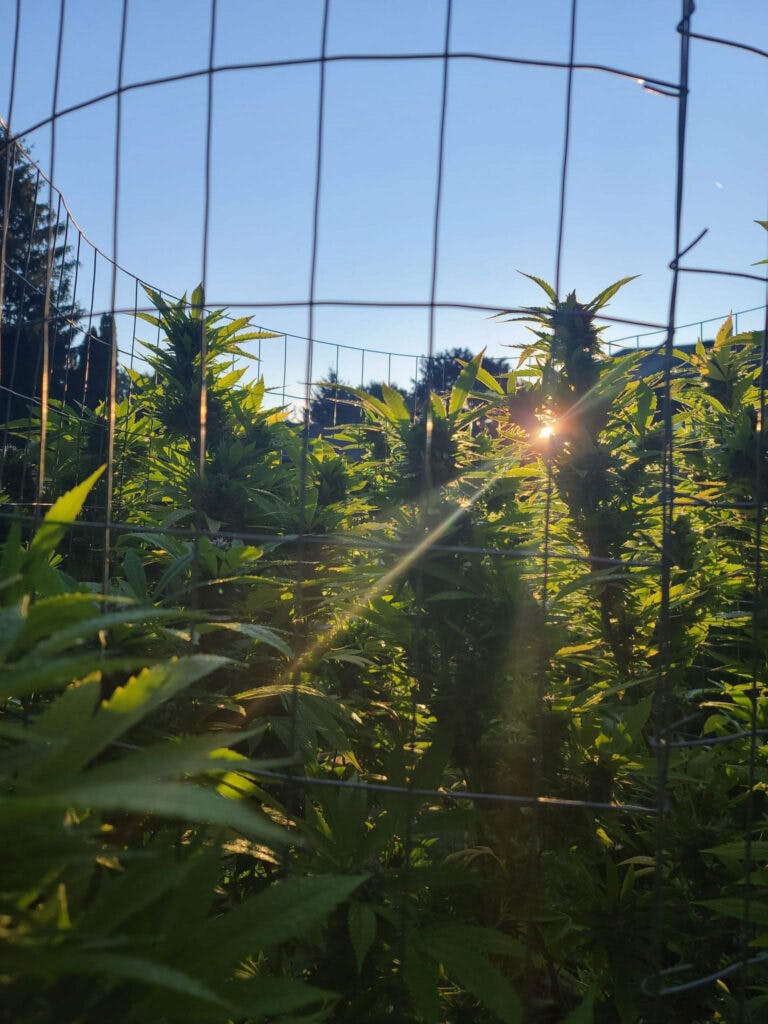
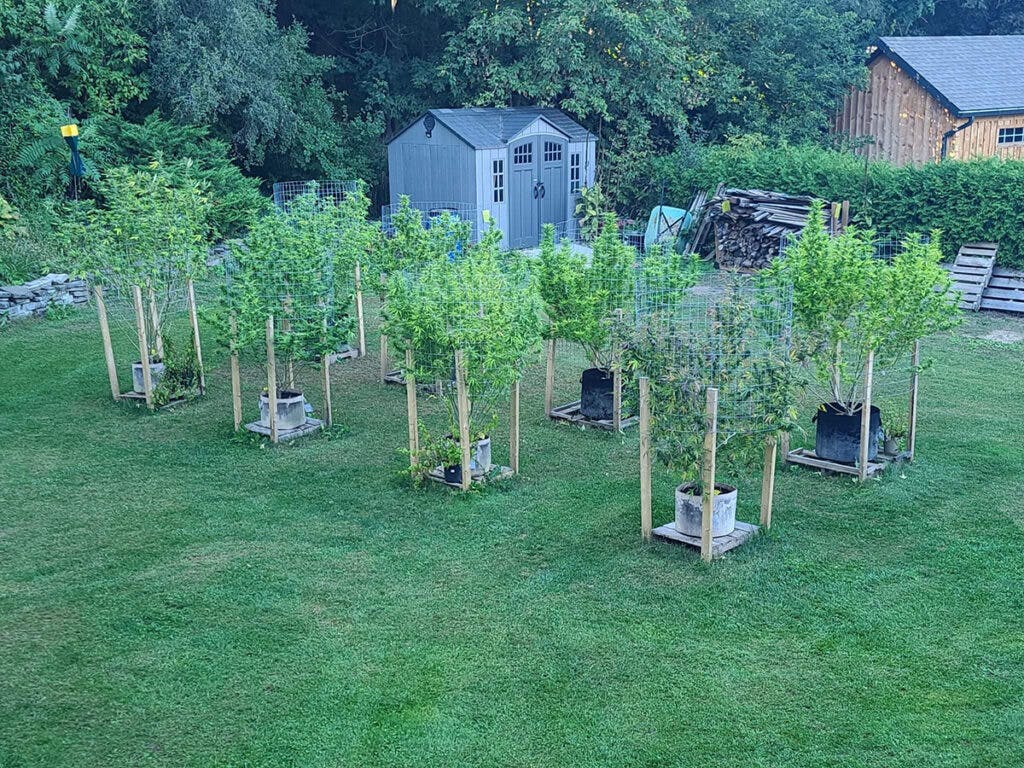
The days are short, the leaves are dropping. The fresh smell is in the air, that’s right it’s harvest time! It’s almost time to sit back and enjoy your
, but a few more steps will ensure the best out of your crop. Here are my “Croptober” harvesting tips for outdoor-grown cannabis.There is a lot more to harvesting your cannabis than just chopping it down. You have spent countless hours ensuring your plants had everything along the way, let’s not get lazy now and potentially ruin an entire harvest.
When the day has arrived and you’re ready to chop, make sure you’re ready to harvest properly ensuring a mold free dry while preserving those volatile terpenoids. There are many different ways to harvest. I put down a few of my own personal tricks I do myself and others have found useful along the way.
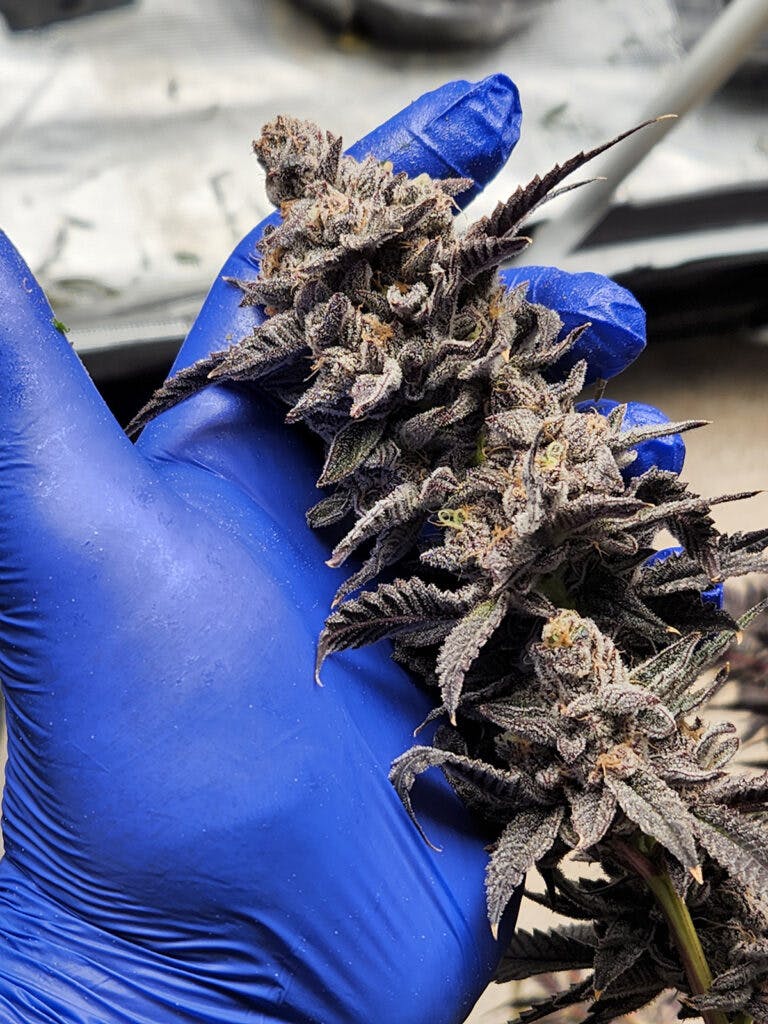
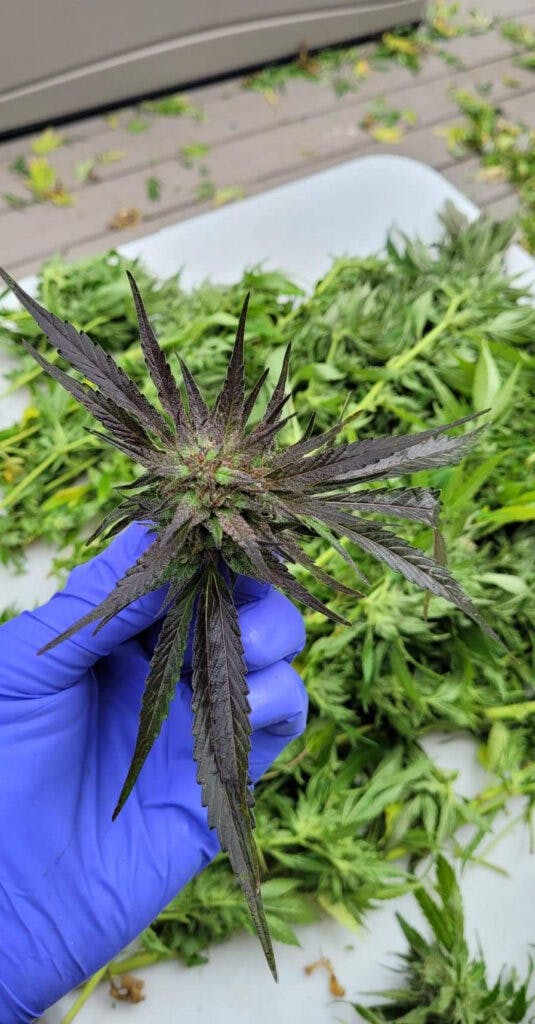
As with anything there are several different methods to harvesting, each having their own pros and cons. Before we dive too deep into that let’s make sure we are ready to harvest. For me it’s simple: I’m looking for a 70 percent cloudy to 30 percent amber trichomes. I prefer to use a digital microscope for this, but there are cheaper options such as a jeweler’s loupe.
The trichome color really comes down to the grower’s preference of bud maturity. Typically speaking the more amber trichomes you are seeing the more “couchlock” of a feeling, and cloudy trichomes being a more intense head high.
Cannabis Harvesting Tips: Ways to Trim
Now that we are ready to chop we have one rather important decision to make. It will gravely impact the overall steps needed to ensure a proper drying environment. We can either go with the dry trim method or wet trim. Each have their own benefits.
Wet Trim
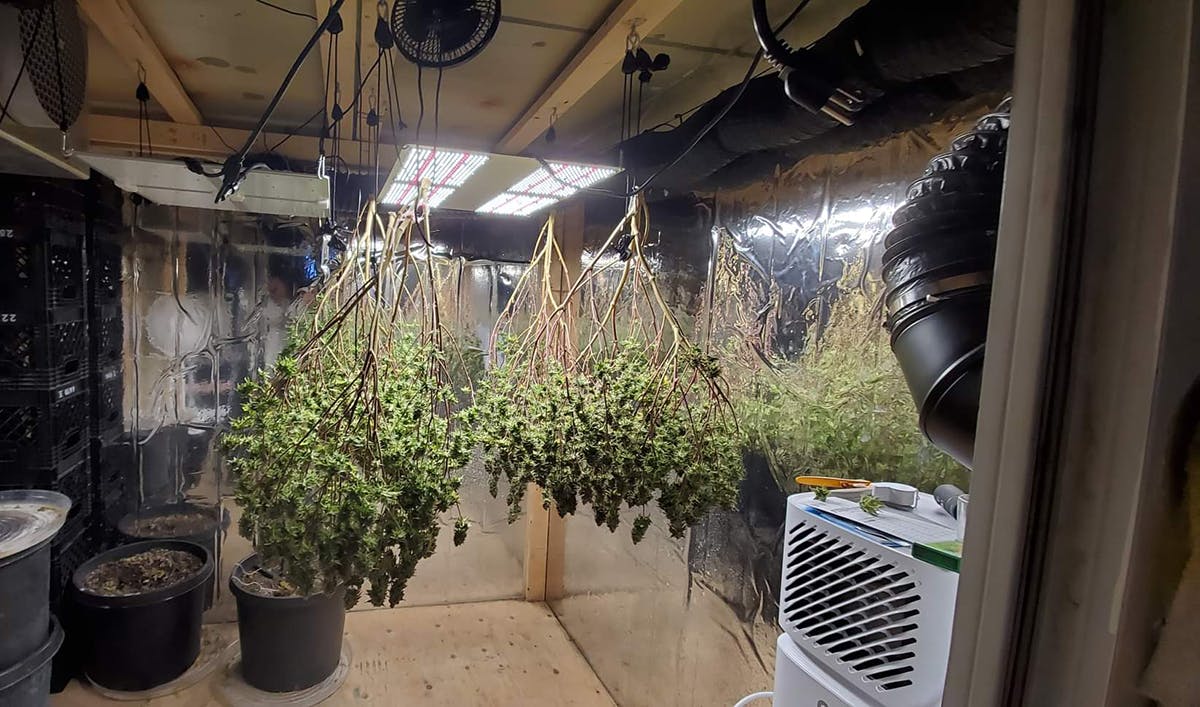
From the time you harvest you go directly to final trimming before hanging to dry. Start by cutting down your girls, removing buds from stems and trimming to final desired appearance. Once trimmed, the buds then must be hung to dry. The use of a drying rack in this case can be a real lifesaver or if in a pinch a cardboard box can do.
Many novice growers seem to choose this route as it may seem easier in the beginning as all the leaves are plump and easy to pluck. The drying of your buds going this route will tend to dry a lot faster, therefore complete control over the drying environment is highly recommended.
Dry Trim
Day one being your cut down day, hang the cut plants to dry. Many people will remove all the fan leafs at this point to reduce the risk of mold growing at this stage. Once the plants are dry and ready to be trimmed you would start by removing any leaves left then remove the buds from stalk and trim to desired appearance.
As the sugar leaves dry, they somewhat encase the buds which many find helpful in getting that perfectly manicured bud, as well as preserving those volatile terps.
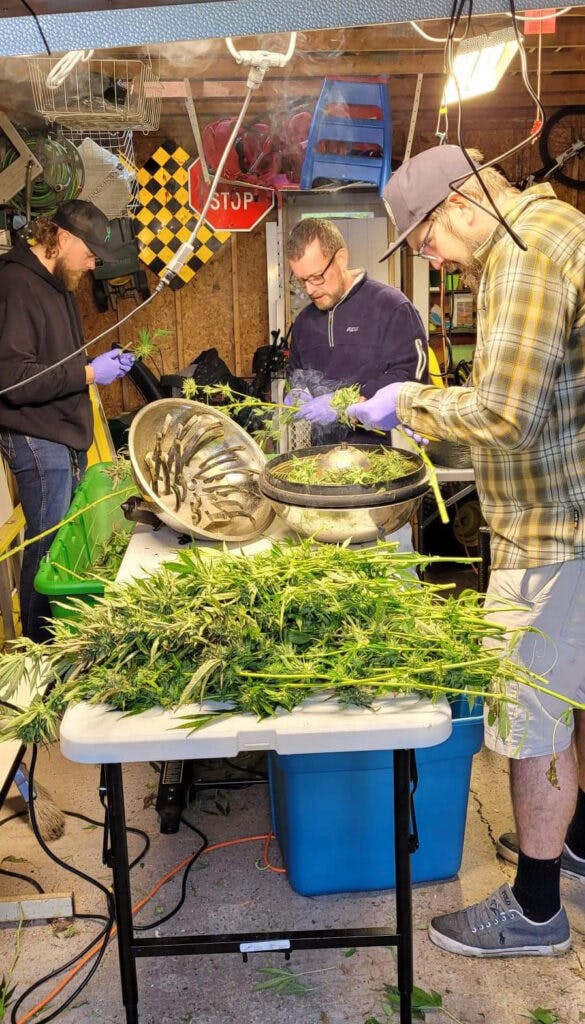
When trimming there are several devices other than the old trusty scissors that can greatly speed up the process. Below are a few great options from the budget to luxury class.
Trimming Materials
Trimmer Bowl
Can be used with both wet and dry material. Gets the job done but is rather rough with material. Cheapest option up from scissors.
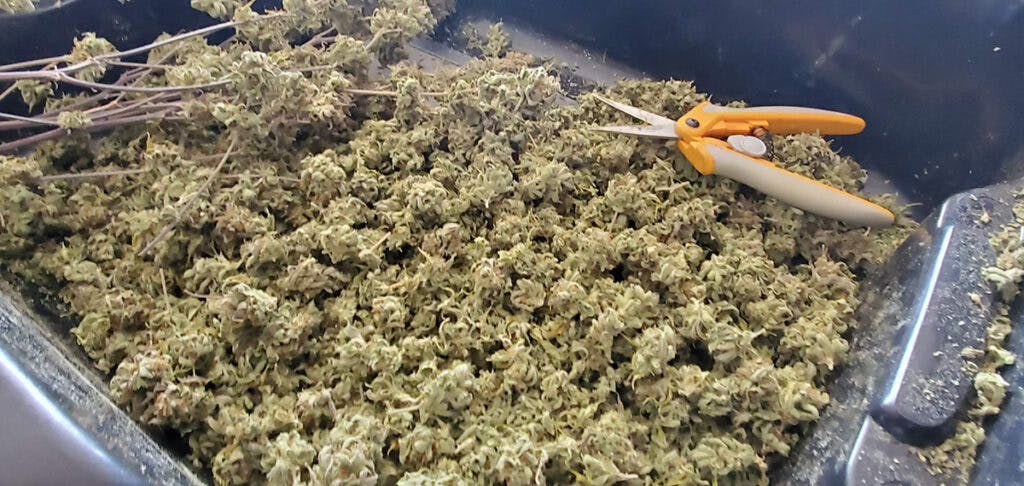
Trimmer Bowl
Dry material only can be used. Buds must be removed from stock and fan leaves ideally removed as well. Simply load up the bag, give some tumbles, and your flower is nicely trimmed, leaving you with your collected trim in separated compartment. This personally is my go too, a little more expensive than a bowl trimmer but the finished product is a lot more naturally manicured than other options.
Twister t6
If large quantities done with speed is what you are after, look no further. With seven pounds per hour with wet trimming and two pounds dry. Professional quick trimming does come at a cost that may be out of reach for most home growers, reaching several thousand per trimmer.
Cannabis Harvesting Tips: Drying Conditions
Regardless of the method chosen for trimming you will want to properly dry your flower. This does not mean throwing your flower in front of a fan, rather to have complete control over temperature and humidity. Ideally you want a nice slow dry averaging between 7 to 10 days. It’s key to keep light and any excess moisture away from your drying flowers.
Keeping a temperature around 60 to 62 degrees fahrenheit with a relative humidity around 62°F. Staying in the proper range will ensure a nice, slow dry creating that proper smoke we all love. Without proper control of the drying environment you risk running the chance of molds and mildew ruining your crop, or too fast of a dry that your flower does not have the time to achieve proper, flavorful end product.
Cannabis Harvesting Tips: Curing
Now that we have covered the different methods of how to chop, dry and trim. We will learn about the final process, which really brings your flower to the next level.
Our buds are dried and trimmed — and you may think they are perfect and ready. While it is puffable, the flavor still may be a tad harsh with a side smell of burnt hay. The curing process helps remove those unwanted compounds that make for an unenjoyable smoke.
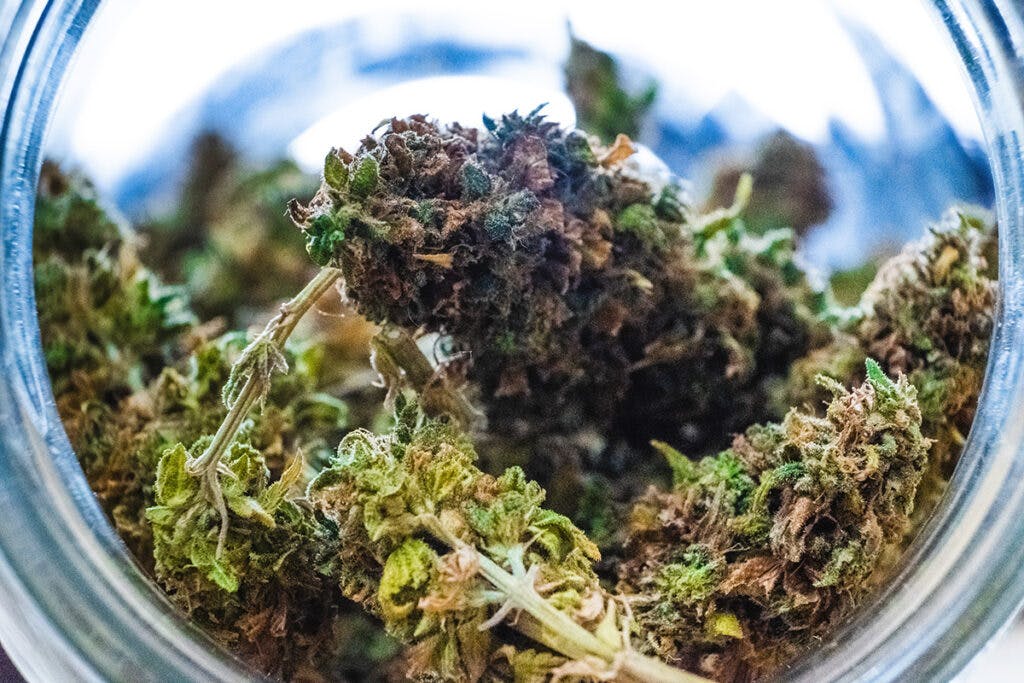
The mainstream way of curing involves Mason jars or food grade buckets for larger quantities. You first put in your freshly dried flower and seal airtight. During the first week of curing, burp the jars twice a day by simply opening the lids. This allows some fresh air exchange for a minute or so then seal back up. As the weeks go on you will continue to burp less.
By week two, I’m normally down to once a day. We ideally want to keep the same environmental conditions as in drying (62°F and 62°F to 68°F relative humidity) within the jars or food grade buckets.
The curing process continues for months, with your materially definitely changing for the better within the first month. The flavorful cannabinoids will be spewing from the jars as you crack them open.

Enjoying the Fruits of Your Labor
With all the different procedures and methods available, it really comes down to the individual and how much time, effort and money they want to contribute. At the end of the day you have spent months growing and meeting every need of your plants. Why get lazy now and miss out on an incredible terp filled harvest?
Follow my “Croptober” cannabis harvesting tips, and you’ll be enjoying some top-quality flower before you know it.
Cheers!
Logan Chamut
Canadian Cannafam